
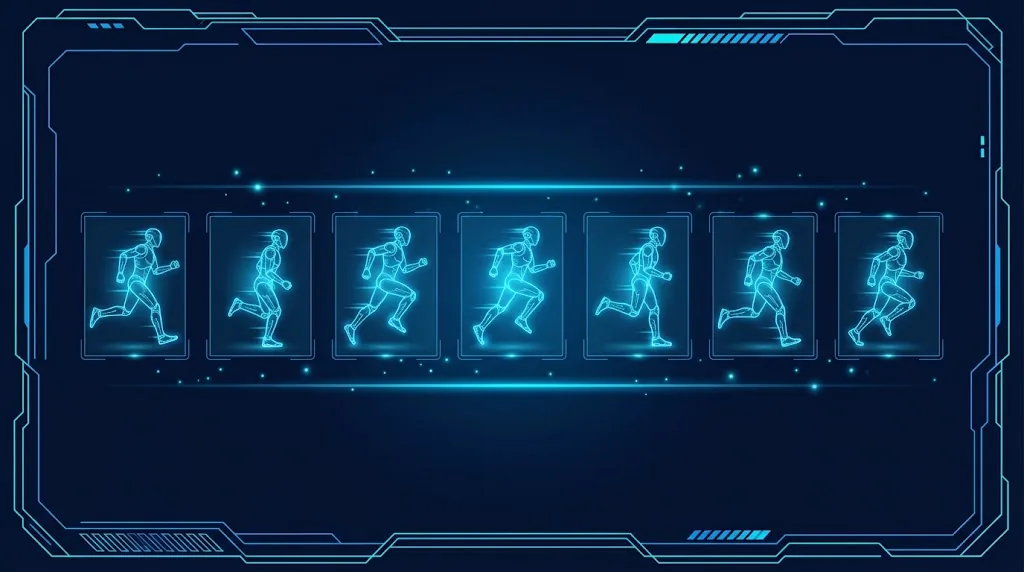
Getting a 2D character to idle, run and jump smoothly involves more steps than most tutorials admit: slicing the sheet, import settings that keep pixel art crisp, clips at the right frame rate, Animator transitions that don’t lag, and flipping that doesn’t break child objects. This Unity 2D sprite animation guide walks through the full pipeline in Unity 6, from a raw sprite sheet to a responsive Animator with a blend tree, plus fixes for sliding feet and blurry pixels.
Import Settings for Sprite Sheets
Drop your sprite sheet PNG into the Project window and select it. In the Inspector, set:
- Texture Type: Sprite (2D and UI)
- Sprite Mode: Multiple (one texture, many frames)
- Pixels Per Unit: match your art. If a character is 32 pixels tall and you want it to be one unit tall, use 32. Keep this the same across all sprites in the game.
For pixel art, three more settings matter:
- Filter Mode: Point (no filter). Bilinear blurs every pixel edge.
- Compression: None. Compression creates colour smearing on small, sharp art.
- Generate Mip Maps: off (under Advanced). Mipmaps can make sprites look blurry when the camera is zoomed out.
Click Apply. Hand-painted, high-resolution art can keep Bilinear and normal compression.
Slicing With the Sprite Editor
Click Open Sprite Editor. If the button is missing, install the 2D Sprite package from the Package Manager (it’s included in the 2D project templates). Open the Slice dropdown:
- Grid By Cell Size is the best choice for evenly spaced sheets. Enter the frame size, for example 32 x 32, plus any padding or offset the artist used.
- Grid By Cell Count works if you know the rows and columns.
- Automatic detects islands of pixels. It’s handy for packed sheets but produces frames of different sizes, which makes animations wobble.
Set the Pivot before you slice. For characters, Bottom Center is usually right: the feet stay planted on the ground and flipping rotates around the body’s centre line. Click Slice, then Apply. Your PNG now expands in the Project window into individual sprites named hero_0, hero_1 and so on.
Consistent frame sizes and pivots are the single biggest fix for animations that jitter between frames. If the artist drew frames off-centre, adjust individual pivots in the Sprite Editor rather than compensating in code.
Creating Idle, Run and Jump Clips
The fastest way to make a clip: select the frames for one animation in the Project window (shift-click a range), then drag them onto your character in the Hierarchy or Scene. Unity asks where to save a new .anim file, creates the clip, and also creates an Animator Controller and adds an Animator component if there wasn’t one.
For the second and later clips, don’t drag onto the character again or you may get extra controllers. Instead, open Window > Animation > Animation, select the character, use the clip dropdown and choose Create New Clip, then drag frames onto the timeline.
Frame rate
Dragged clips default to 12 samples per second, which suits a lot of pixel art. To change it, open the Animation window’s options menu (the three dots) and enable Show Sample Rate, then edit the value. Most 2D games use 8 to 15 fps for character animation. Running faster than the art was designed for makes movement look frantic.
Looping
Select each clip asset. Idle and run should have Loop Time ticked; a jump or attack that plays once should not. A common pattern is to split a jump into JumpUp (rising) and Fall (descending), each a short loop, so the pose matches vertical velocity rather than a fixed timeline.
Animator Parameters and Transitions
Open Window > Animation > Animator. Your clips appear as states, with the first one in orange as the default. Add parameters in the Parameters tab:
Speed(Float): absolute horizontal speedGrounded(Bool)VerticalSpeed(Float)
Right-click a state and choose Make Transition to connect them:
- Idle to Run:
SpeedGreater 0.1 - Run to Idle:
SpeedLess 0.1 - Any State to JumpUp:
Groundedfalse andVerticalSpeedGreater 0 - Any State to Fall:
Groundedfalse andVerticalSpeedLess 0 - JumpUp and Fall to Idle:
Groundedtrue
Then the step almost everyone forgets. Select each transition and:
- Untick Has Exit Time, so the transition fires as soon as the condition is true instead of waiting for the clip to finish.
- Set Transition Duration to 0. Blending between two sprite frames does nothing useful, it just delays the change.
On Any State transitions, also untick Can Transition To Self, otherwise the jump restarts every frame and appears frozen on its first frame. If states still refuse to change, our Animator not playing fix covers the full checklist.
Driving the Animator From Code
Movement code sets the parameters; the Animator decides what to show. This example uses a Rigidbody2D and the Input System:
using UnityEngine;
using UnityEngine.InputSystem;

[RequireComponent(typeof(Rigidbody2D), typeof(Animator))]
public class PlayerAnimation2D : MonoBehaviour
{
    [SerializeField] float moveSpeed = 6f;
    [SerializeField] float jumpForce = 12f;
    [SerializeField] Transform groundCheck;
    [SerializeField] LayerMask groundLayer;

    Rigidbody2D rb;
    Animator anim;
    SpriteRenderer sr;
    float moveX;
    bool grounded;

    static readonly int SpeedId = Animator.StringToHash("Speed");
    static readonly int GroundedId = Animator.StringToHash("Grounded");
    static readonly int VertId = Animator.StringToHash("VerticalSpeed");

    void Awake()
    {
        rb = GetComponent<Rigidbody2D>();
        anim = GetComponent<Animator>();
        sr = GetComponent<SpriteRenderer>();
    }

    void Update()
    {
        var kb = Keyboard.current;
        if (kb == null) return;

        moveX = (kb.dKey.isPressed ? 1f : 0f) - (kb.aKey.isPressed ? 1f : 0f);
        grounded = Physics2D.OverlapCircle(groundCheck.position, 0.1f, groundLayer);

        if (grounded && kb.spaceKey.wasPressedThisFrame)
            rb.linearVelocity = new Vector2(rb.linearVelocity.x, jumpForce);

        anim.SetFloat(SpeedId, Mathf.Abs(moveX));
        anim.SetBool(GroundedId, grounded);
        anim.SetFloat(VertId, rb.linearVelocity.y);

        if (moveX != 0f) sr.flipX = moveX < 0f;
    }

    void FixedUpdate()
    {
        rb.linearVelocity = new Vector2(moveX * moveSpeed, rb.linearVelocity.y);
    }
}
Reading the keyboard directly keeps the example short. In a real project you’d use an Input Action asset, as shown in our Input System beginner’s guide. Notice that Speed uses input rather than velocity. Velocity briefly reads non-zero when you stop or bump a wall, which flickers between idle and run.
Flipping the Sprite Correctly
There are two ways to face left, and they behave differently:
SpriteRenderer.flipXonly mirrors the image. Colliders, child objects (a weapon, a muzzle point, a particle emitter) and their offsets stay where they were. Good for simple characters.- Negative X scale (
transform.localScale = new Vector3(-1, 1, 1)) mirrors the whole hierarchy, so the gun and its fire point move to the other hand. Good for characters with attached parts.
An alternative to negative scale is rotating 180 degrees on Y, which also flips children and keeps transform.right pointing the way the character faces. That’s useful when you shoot projectiles along transform.right. Whichever you choose, use it consistently and only flip when input is non-zero, so the character keeps facing the last direction when idle.
Blend Trees for 2D
Blend trees shine in 2D when a character has several directional animations, such as a top-down hero with walk up, down, left and right. Instead of eight states and dozens of transitions, you use one state.
- In the Animator, right-click and choose Create State > From New Blend Tree. Double-click it.
- Set Blend Type to 2D Simple Directional and pick two parameters,
MoveXandMoveY. - Add motion fields for each clip and set positions: WalkUp at (0, 1), WalkDown at (0, -1), WalkRight at (1, 0), WalkLeft at (-1, 0).
With sprite clips, the Animator doesn’t really blend pixels; it picks the dominant clip, which is exactly what you want. To make the character keep facing the last direction when it stops, only update MoveX and MoveY while input is non-zero, and use a separate Idle blend tree with the same layout driven by those stored values. A 1D blend tree on Speed (idle, walk, run) is also useful for platformers with several run speeds.
✨ Want great 2D art and animation tools?
Character packs, animation helpers and sprite tools can save weeks on a 2D project. These are the Asset Store tools we think are worth it.
Troubleshooting
Pixel art looks blurry or smeared
Set Filter Mode to Point, Compression to None, and turn off mipmaps. If edges shimmer while moving, add a Pixel Perfect Camera component (URP 2D) and set its Assets Pixels Per Unit to match your sprites.
The character slides before the run animation starts
The transition still has Has Exit Time ticked or a non-zero duration. Untick it and set duration to 0. Also check the threshold isn’t larger than your input values.
Jump animation is stuck on its first frame
An Any State transition is re-entering the same state every frame. Untick Can Transition To Self.
Frames jitter or bounce
Frames were sliced at different sizes or have different pivots. Re-slice with Grid By Cell Size and a single pivot like Bottom Center.
Thin lines appear between tiles or frames
Neighbouring frames bleed in. Add padding between frames in the sheet, or pack sprites into a Sprite Atlas with padding of 2 or more.
FAQ
What frame rate should 2D sprite animations use?
Usually 8 to 15 frames per second for characters. Match the rate the artist animated at; the game itself still runs at 60 fps.
Should I use flipX or negative scale?
flipX for simple sprites with nothing attached. Negative scale or a 180 degree Y rotation when child objects like weapons need to flip too.
Do I need the Animator for simple animations?
Not always. A tiny script that cycles sprites on a timer works for pickups or effects. For characters with several states, the Animator saves a lot of code.
Why can’t I find the Sprite Editor?
Install the 2D Sprite package from the Package Manager, and make sure the texture type is Sprite (2D and UI).
How do I make a run animation match movement speed?
Set the state’s Speed Multiplier to a parameter and feed it your current speed divided by base speed, so the feet move faster when the character does.
Reader questions
Asked by readers of this article and answered by AI. Behavior can differ between Unity versions, so test in yours.



Leave a Reply