
Enemy AI usually starts as a pile of booleans: isChasing, isAttacking, isDead, and an Update full of if-statements that slowly becomes impossible to change. A finite state machine (FSM) fixes that by making each behaviour its own state with clear rules for switching. This guide builds a Unity enemy AI state machine from scratch: patrol, chase, attack and return, using clean C# classes and NavMesh movement. It also covers when to move on to behaviour trees.
Why a State Machine?
A state machine says: the enemy is in exactly one state at a time, each state has its own logic, and transitions define when it switches. This gives you:
- No impossible combinations (chasing and dead).
- Enter/Exit hooks for one-off actions such as playing an alert sound when chase starts or resetting speed when it ends.
- Behaviour you can read and extend. Adding a “flee” state doesn’t touch the patrol code.
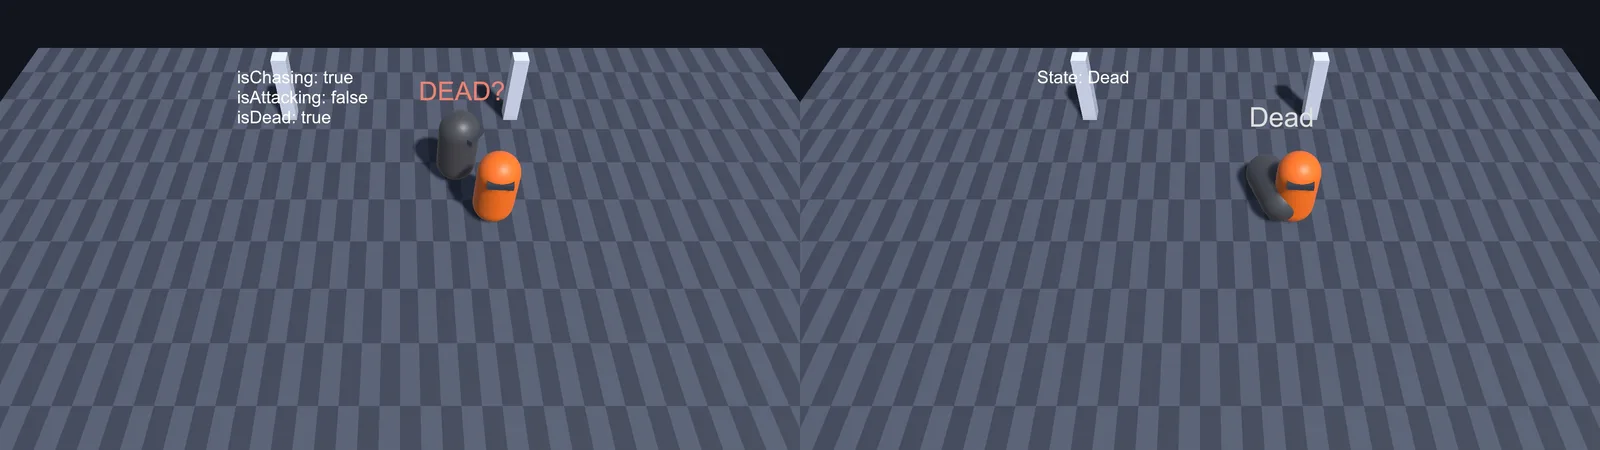
The Quick Version: an Enum and a Switch
For a small enemy, an enum is perfectly fine:
enum State { Patrol, Chase, Attack }
State state = State.Patrol;

void Update()
{
    switch (state)
    {
        case State.Patrol:
            Patrol();
            if (CanSeePlayer()) state = State.Chase;
            break;
        case State.Chase:
            agent.SetDestination(player.position);
            if (InAttackRange()) state = State.Attack;
            else if (!CanSeePlayer()) state = State.Patrol;
            break;
        case State.Attack:
            Attack();
            if (!InAttackRange()) state = State.Chase;
            break;
    }
}
This breaks down when states need their own data (timers, last known positions) and enter/exit logic. At that point, move to classes.
The Scalable Version: State Classes
Each state is a small class with Enter, Tick and Exit. The machine just holds the current one:
public interface IState
{
    void Enter();
    void Tick();
    void Exit();
}

public class StateMachine
{
    public IState Current { get; private set; }

    public void ChangeState(IState next)
    {
        if (next == Current) return;
        Current?.Exit();
        Current = next;
        Current.Enter();
    }

    public void Tick() => Current?.Tick();
}
The enemy MonoBehaviour owns the machine, creates its states once, and ticks it every frame:
using UnityEngine;
using UnityEngine.AI;

[RequireComponent(typeof(NavMeshAgent))]
public class EnemyAI : MonoBehaviour
{
    public NavMeshAgent Agent { get; private set; }
    public Transform Player;
    public Transform[] Waypoints;
    public float SightRange = 15f, FieldOfView = 110f, AttackRange = 2f;
    public LayerMask SightBlockers;

    public Vector3 LastKnownPlayerPos { get; set; }

    readonly StateMachine fsm = new();
    public PatrolState Patrol { get; private set; }
    public ChaseState Chase { get; private set; }
    public AttackState Attack { get; private set; }
    public SearchState Search { get; private set; }

    void Awake()
    {
        Agent = GetComponent<NavMeshAgent>();
        Patrol = new PatrolState(this);
        Chase = new ChaseState(this);
        Attack = new AttackState(this);
        Search = new SearchState(this);
    }

    void Start() => fsm.ChangeState(Patrol);
    void Update() => fsm.Tick();

    public void ChangeState(IState s) => fsm.ChangeState(s);
    public string CurrentStateName => fsm.Current?.GetType().Name;
}
States are plain C# classes, not MonoBehaviours, so they’re cheap and have no Inspector clutter. They receive the enemy as context.
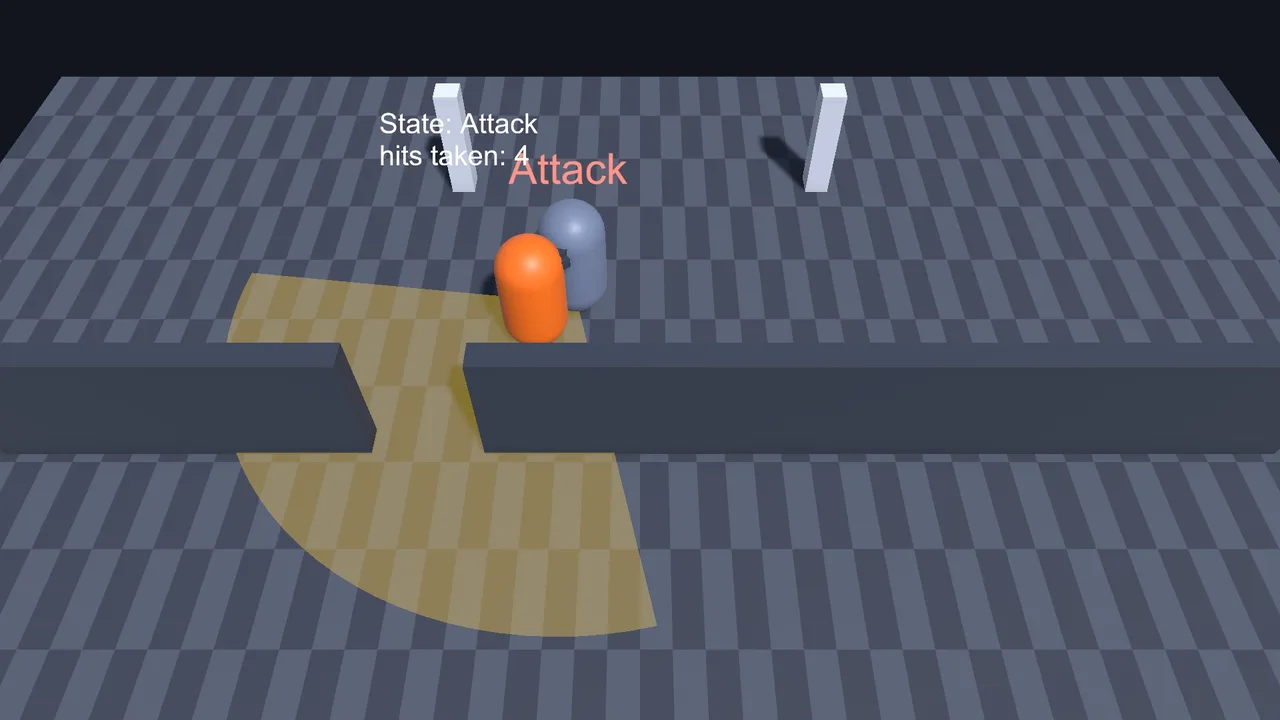
Giving the Enemy Senses
Put sensing on the enemy so every state can use it. A good “can see player” check combines distance, view angle and a line-of-sight raycast:
public bool CanSeePlayer()
{
    Vector3 eye = transform.position + Vector3.up * 1.6f;
    Vector3 target = Player.position + Vector3.up * 1f;
    Vector3 toPlayer = target - eye;

    if (toPlayer.sqrMagnitude > SightRange * SightRange) return false;
    if (Vector3.Angle(transform.forward, toPlayer) > FieldOfView * 0.5f) return false;
    if (Physics.Raycast(eye, toPlayer.normalized, toPlayer.magnitude, SightBlockers)) return false;

    LastKnownPlayerPos = Player.position;
    return true;
}

public bool InAttackRange() =>
    (Player.position - transform.position).sqrMagnitude <= AttackRange * AttackRange;
Set SightBlockers to walls and level geometry only. If it includes the player’s layer, the ray “hits” the player and reports blocked. Layer masks are explained in our raycast tutorial.
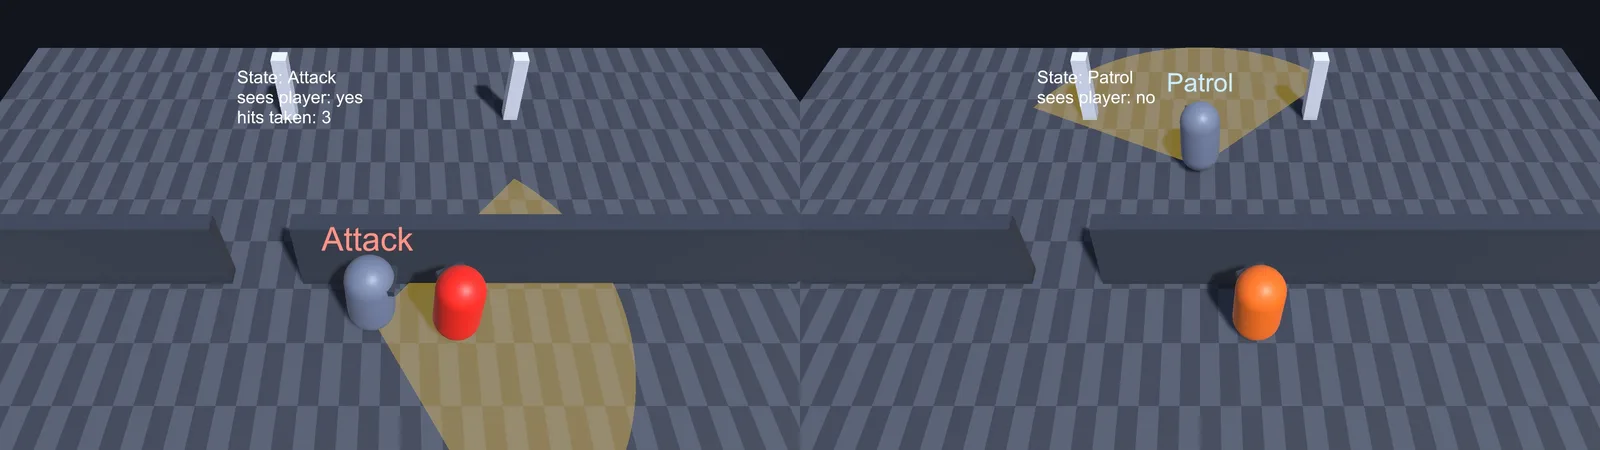
Patrol, Chase, Attack and Search States
public class PatrolState : IState
{
    readonly EnemyAI ai; int index;
    public PatrolState(EnemyAI ai) => this.ai = ai;

    public void Enter()
    {
        ai.Agent.speed = 2f;
        ai.Agent.SetDestination(ai.Waypoints[index].position);
    }

    public void Tick()
    {
        if (ai.CanSeePlayer()) { ai.ChangeState(ai.Chase); return; }
        if (!ai.Agent.pathPending && ai.Agent.remainingDistance < 0.5f)
        {
            index = (index + 1) % ai.Waypoints.Length;
            ai.Agent.SetDestination(ai.Waypoints[index].position);
        }
    }

    public void Exit() { }
}

public class ChaseState : IState
{
    readonly EnemyAI ai; float repathTimer;
    public ChaseState(EnemyAI ai) => this.ai = ai;

    public void Enter() { ai.Agent.speed = 5f; repathTimer = 0f; }

    public void Tick()
    {
        bool sees = ai.CanSeePlayer();
        if (sees && ai.InAttackRange()) { ai.ChangeState(ai.Attack); return; }
        if (!sees) { ai.ChangeState(ai.Search); return; }

        repathTimer -= Time.deltaTime;
        if (repathTimer <= 0f)
        {
            ai.Agent.SetDestination(ai.Player.position);
            repathTimer = 0.2f;   // no need to repath every frame
        }
    }

    public void Exit() { }
}

public class AttackState : IState
{
    readonly EnemyAI ai; float cooldown;
    public AttackState(EnemyAI ai) => this.ai = ai;

    public void Enter() { ai.Agent.isStopped = true; cooldown = 0f; }

    public void Tick()
    {
        if (!ai.InAttackRange()) { ai.ChangeState(ai.Chase); return; }

        Vector3 dir = ai.Player.position - ai.transform.position; dir.y = 0f;
        ai.transform.rotation = Quaternion.RotateTowards(ai.transform.rotation, Quaternion.LookRotation(dir), 540f * Time.deltaTime);

        cooldown -= Time.deltaTime;
        if (cooldown <= 0f)
        {
            if (ai.Player.TryGetComponent(out Health h)) h.TakeDamage(10f);
            cooldown = 1.2f;
        }
    }

    public void Exit() => ai.Agent.isStopped = false;
}

public class SearchState : IState
{
    readonly EnemyAI ai; float timer;
    public SearchState(EnemyAI ai) => this.ai = ai;

    public void Enter() { ai.Agent.speed = 3.5f; ai.Agent.SetDestination(ai.LastKnownPlayerPos); timer = 4f; }

    public void Tick()
    {
        if (ai.CanSeePlayer()) { ai.ChangeState(ai.Chase); return; }
        if (!ai.Agent.pathPending && ai.Agent.remainingDistance < 0.5f)
        {
            timer -= Time.deltaTime;
            if (timer <= 0f) ai.ChangeState(ai.Patrol);
        }
    }

    public void Exit() { }
}
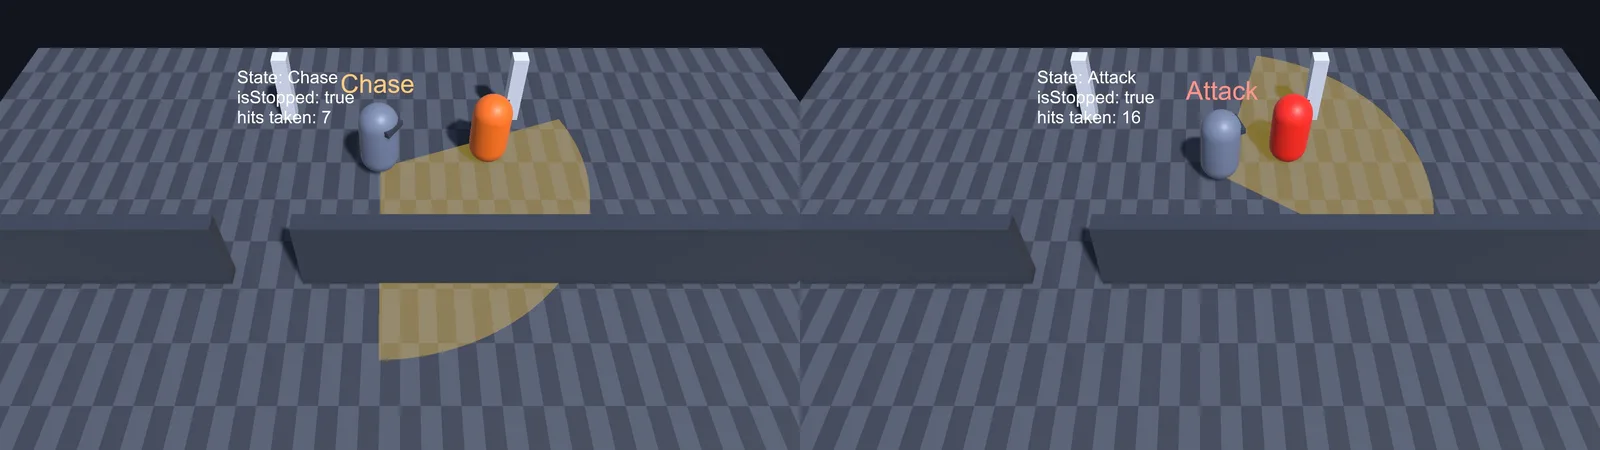
Notice how AttackState.Exit resumes the agent. Whatever state comes next, the agent is never left frozen. That’s the power of exit hooks. The Search state makes enemies feel smarter than they are: they go to where they last saw you and look around instead of instantly forgetting. Bake a NavMesh first (see our Unity 6 NavMesh tutorial).
Debugging the Current State
Seeing the state is half of AI debugging. Draw it above the enemy’s head and visualise its sight cone:
#if UNITY_EDITOR
void OnDrawGizmos()
{
    UnityEditor.Handles.Label(transform.position + Vector3.up * 2.2f, CurrentStateName ?? "-");
    Gizmos.color = Color.yellow;
    Gizmos.DrawWireSphere(transform.position, SightRange);
    Vector3 left = Quaternion.Euler(0, -FieldOfView / 2, 0) * transform.forward;
    Vector3 right = Quaternion.Euler(0, FieldOfView / 2, 0) * transform.forward;
    Gizmos.DrawRay(transform.position, left * SightRange);
    Gizmos.DrawRay(transform.position, right * SightRange);
}
#endif
🧠 Going deeper into game AI?
State machines are the first step. Behaviour trees, utility AI and GOAP are covered brilliantly in a few classic books on our reading list.
Hierarchical FSMs, Behaviour Trees and Animator
- Hierarchical state machines: when several states share transitions (any state goes to Dead or Stunned), group them under a parent “Combat” state, or check global transitions in the machine before ticking the current state.
- Behaviour trees scale better for complex AI with many priorities, such as “take cover if hurt, else flank, else shoot”. Unity offers the Behavior package (a visual behaviour graph) for this.
- Animator state machines are for animation, not decisions. You can put logic in StateMachineBehaviours, but mixing decision logic with blend trees gets messy. Keep the AI FSM in code and send parameters to the Animator.
- ScriptableObject states let designers assemble states in the Inspector, but beware storing per-enemy data on a shared asset (see our ScriptableObjects guide).
Troubleshooting
Enemy flickers between two states
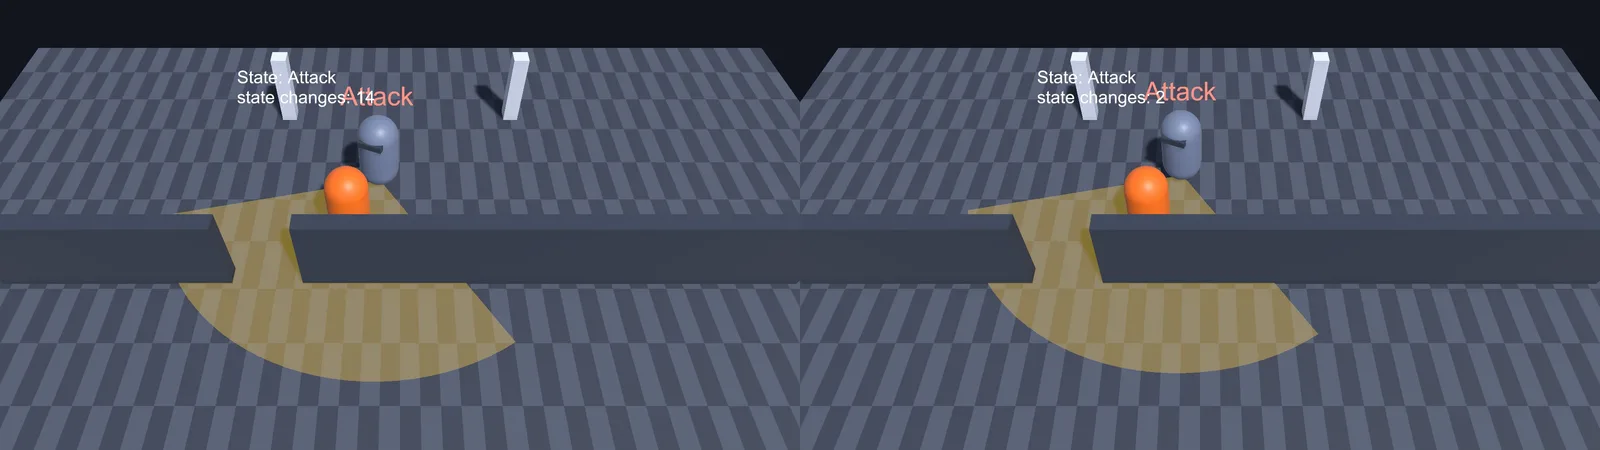
The transition conditions overlap at the boundary, for example attack range 2 and chase-to-attack at 2 as well. Add hysteresis: enter Attack at 2 m but leave only above 2.5 m, or add a minimum time in state.
Enemy sees through walls
The line-of-sight raycast is missing, or SightBlockers doesn’t include the wall layer.
Enemy never sees the player
SightBlockers includes the player’s layer or the enemy’s own collider, so the ray is “blocked”. Or the eye height is inside the floor.
Enemy freezes after attacking
isStopped was set to true and never reset. Reset it in Exit, as above.
remainingDistance is 0 right after SetDestination
The path is still being calculated. Always check !agent.pathPending before trusting remainingDistance.
FAQ
What is a finite state machine in Unity?
A pattern where an object is in exactly one state at a time, such as Patrol or Chase, each with its own logic and rules for switching to other states.
Should states be MonoBehaviours?
Usually not. Plain C# classes are lighter, easier to test, and avoid enabling and disabling components.
State machine or behaviour tree?
State machines are simpler and great for enemies with a handful of behaviours. Behaviour trees scale better when there are many prioritized behaviours.
Can I use the Animator as my AI state machine?
You can, but it’s best kept for animation. Code-based FSMs are easier to debug and version-control.
How often should AI update?
Sensing and repathing can run every 0.1–0.25 seconds instead of every frame, which makes a big difference with many enemies.
Reader questions
Asked by readers of this article and answered by AI. Behavior can differ between Unity versions, so test in yours.



Leave a Reply