
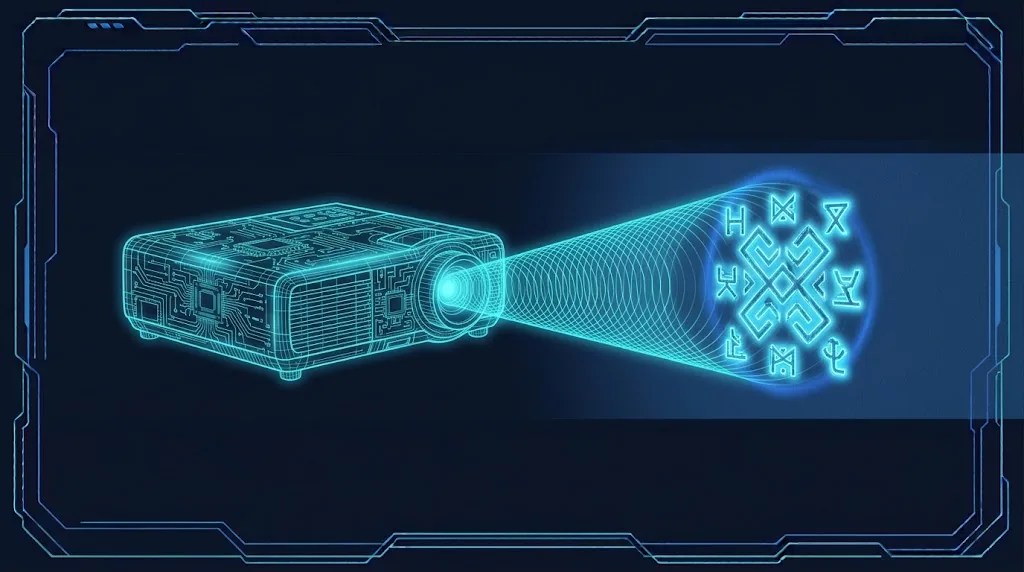
Bullet holes, footprints, blood splats, scorch marks and graffiti all have one thing in common: they’re textures projected onto whatever surface is underneath, without touching that surface’s material. That’s exactly what URP decals do. This guide shows how to enable the Decal Renderer Feature in Unity 6, place a Decal Projector, spawn bullet holes and footprints from code at the right angle, pool them so they don’t pile up, and keep decals fast on mobile.
Enabling the Decal Renderer Feature
Decals don’t render until you turn them on in your renderer:
- Find your Universal Renderer Data asset (in a new project it’s in
Assets/Settings, for examplePC_RendererandMobile_Renderer). If you have several quality levels, do this for each renderer that should show decals. - Click Add Renderer Feature > Decal.
- Choose a Technique:
- Automatic picks for you based on platform.
- DBuffer renders decals into a buffer before opaque objects are lit, so decals affect lighting and normals properly. Best quality, needs a depth prepass, more expensive.
- Screen Space renders decals after opaque objects using the depth texture. Cheaper and better for mobile and tile-based GPUs, but with simpler lighting.
- Set Max Draw Distance. Decals further away than this are culled.
If you see nothing later on, come back here first. A missing renderer feature on the active quality level’s renderer is the number one reason decals are invisible.
Your First Decal Projector
Create one with GameObject > Rendering > URP Decal Projector. It appears as a box gizmo with an arrow. The projector shoots its texture along its local forward (blue Z) axis onto anything inside the box.
- Width / Height: the size of the decal on the surface.
- Projection Depth: how deep the box is. Keep it shallow (0.1 to 0.5 for bullet holes) or the decal wraps around corners and onto objects behind the wall.
- Pivot: by default the pivot is in the middle of the depth. Put it at the front so you can place the projector exactly on a hit point.
- Opacity: fades the whole decal, useful for fading out old ones.
- Start/End Angle Fade: fades the decal on surfaces angled away from the projection direction, which stops ugly stretching on steep walls.
- Draw Distance and Start Fade: per-projector culling distance, on top of the feature’s max.
Drag a decal material onto Material. Unity ships a default one; create your own as below.
Decal Materials and Shader Graph
A decal material must use a decal shader. The simplest is the built-in Shader Graphs/Decal: create a material, choose that shader, and assign a Base Map with transparency (a PNG with alpha). It also supports a normal map, which is what makes bullet holes look dented instead of painted on.
For custom effects, create a Shader Graph and set its Material target to Decal. The master stack exposes Base Color, Alpha, Normal and, in DBuffer mode, Metallic, Ambient Occlusion and Smoothness. The graph settings let you choose which of these the decal affects: a wet puddle might write only Smoothness, leaving the colour of the ground intact. If Shader Graph is new to you, start with our Shader Graph beginner tutorial.
Two settings matter a lot:
- Tick Enable GPU Instancing on the material. Decals with the same material are drawn instanced, so 200 bullet holes cost close to one.
- Use a texture atlas for variations (several hole shapes in one texture) and pick a tile per decal, rather than one material per variation, so instancing still batches them.
Spawning Bullet Holes From a Raycast
The raycast gives you a point and a surface normal. The projector should sit at the point and face into the surface, so its forward is the opposite of the normal. Add a random spin around that axis so repeated holes don’t look stamped:
using UnityEngine;
using UnityEngine.Rendering.Universal;

public class BulletHoles : MonoBehaviour
{
    [SerializeField] DecalProjector holePrefab;
    [SerializeField] LayerMask shootable;
    [SerializeField] float range = 100f;

    public void Shoot(Ray ray)
    {
        if (!Physics.Raycast(ray, out RaycastHit hit, range, shootable)) return;

        Quaternion rot = Quaternion.LookRotation(-hit.normal)
                       * Quaternion.Euler(0f, 0f, Random.Range(0f, 360f));

        DecalProjector d = Instantiate(holePrefab, hit.point + hit.normal * 0.02f, rot);
        float size = Random.Range(0.08f, 0.12f);
        d.size = new Vector3(size, size, 0.2f);

        // Stick to moving objects (doors, crates).
        if (hit.rigidbody != null || !hit.collider.gameObject.isStatic)
            d.transform.SetParent(hit.collider.transform, true);
    }
}
Setting the decal’s Pivot to (0, 0, 0.1) in the prefab (half of the 0.2 depth) means the box starts just in front of the surface and extends into it. The small offset along the normal avoids the box starting exactly on the surface, which can clip the decal on bumpy meshes. For the raycast itself, including layer masks and why hits sometimes miss, see our Unity raycast tutorial.
Parenting decals to moving objects works, but parenting to a non-uniformly scaled object distorts the decal. Parent to an unscaled child transform if that happens.
Footprints and Blood Splats
Footprints
Spawn a footprint each time a foot touches down. Animation Events on the walk cycle are the cleanest trigger. Raycast down from the foot bone, then orient the decal so it projects downwards but points the way the character is walking:
public void SpawnFootprint(Transform foot, bool left)
{
    if (!Physics.Raycast(foot.position + Vector3.up * 0.2f, Vector3.down,
                         out RaycastHit hit, 0.6f, ground)) return;

    Vector3 forward = Vector3.ProjectOnPlane(transform.forward, hit.normal).normalized;
    Quaternion rot = Quaternion.LookRotation(-hit.normal, forward);

    DecalProjector d = pool.Get();
    d.transform.SetPositionAndRotation(hit.point + hit.normal * 0.02f, rot);
    d.uvScale = new Vector2(left ? 1f : -1f, 1f); // mirror for the other foot
    d.fadeFactor = 1f;
}
The second argument to LookRotation is the “up” of the decal texture, so the toe of the footprint points along the walking direction. Mirroring with uvScale saves you a second texture. Fade old footprints by lowering fadeFactor over a few seconds.
Blood splats and scorch marks
Splats usually go on the floor and nearby walls. Raycast from the hit point in a few random directions biased downward, and spawn a decal at each hit with random size and rotation. For explosions, one large scorch decal projected downward with a deep projection box covers bumpy ground nicely. Use angle fade so it doesn’t smear up walls.
Pooling and Limiting Decals
An automatic weapon creates hundreds of holes a minute. Instantiating and never removing them will eventually hurt performance. Use a fixed-size ring buffer: when the limit is reached, recycle the oldest decal. Unity’s built-in ObjectPool<T> works well, as shown in our object pooling guide, but for decals a simple queue is often all you need:
using System.Collections.Generic;
using UnityEngine;
using UnityEngine.Rendering.Universal;

public class DecalRing : MonoBehaviour
{
    [SerializeField] DecalProjector prefab;
    [SerializeField] int max = 150;
    readonly Queue<DecalProjector> live = new();

    public DecalProjector Get()
    {
        DecalProjector d;
        if (live.Count >= max)
        {
            d = live.Dequeue();               // recycle the oldest
            d.transform.SetParent(transform, false);
        }
        else
        {
            d = Instantiate(prefab, transform);
        }
        d.fadeFactor = 1f;
        live.Enqueue(d);
        return d;
    }
}
Recycled decals parented to a destroyed object would be destroyed with it, so either unparent decals before destroying props, or check for null when dequeuing. A cap of 100 to 300 decals is plenty for most shooters on PC, and 30 to 80 on mobile.
🎨 Need decal textures fast?
Good decal packs with bullet holes, cracks, grime and blood (with normal maps) save hours of texture work. We list our favourite art and tool packs here.
Sorting, Layers and Mobile Performance
Sorting overlapping decals
When decals overlap, draw order is decided by the material’s Priority (the Sorting Priority / render queue setting in the decal material). Give blood a higher priority than dirt so it always sits on top. Within the same material, order isn’t guaranteed, which rarely matters for bullet holes.
Keeping decals off certain objects
You usually don’t want bullet holes on the player or on enemies that will play a death animation. In the Decal renderer feature, enable Use Rendering Layers. Projectors and Mesh Renderers then each get a Rendering Layer Mask, and a decal only affects renderers sharing one of its layers. Put characters on a layer the decal doesn’t use. Your raycast layer mask should also skip characters for spawning holes.
Mobile performance
- Use the Screen Space technique, and set the Normal Blend to Low if you don’t need precise normals.
- Keep the count low and the projection boxes small. Cost scales with how many screen pixels each decal box covers, so one huge decal can cost more than twenty small ones.
- Enable GPU instancing and share materials.
- Lower the feature’s Max Draw Distance. Bullet holes 40 m away are invisible on a phone anyway.
- Profile it. The Frame Debugger shows decal passes clearly, and our mobile optimization guide covers GPU budgets in general.
Troubleshooting
Decals are completely invisible
The Decal renderer feature is missing on the renderer used by the current quality level, or the material doesn’t use a decal shader. Check Project Settings > Quality to see which URP asset and renderer are active.
Decal appears on the wrong side or not at all on walls
The projector is facing away from the surface. Its forward axis must point into the surface: use Quaternion.LookRotation(-hit.normal).
Decal stretches over edges and onto objects behind
Projection depth is too large. Make the box shallow and add angle fade.
Decals look flat and don’t react to light
Screen Space technique with simplified lighting, or no normal map assigned. Switch to DBuffer on desktop, or add a normal map to the decal material.
Pink decals
The material’s shader doesn’t compile for URP, usually a decal shader from another pipeline. Our guide to fixing pink materials covers it.
FAQ
Do URP decals work on mobile?
Yes. Use the Screen Space technique, keep decal counts and sizes modest, and enable GPU instancing on decal materials.
DBuffer or Screen Space: which should I pick?
DBuffer looks better because decals affect normals, smoothness and lighting. Screen Space is cheaper and the better default on mobile and on tile-based GPUs.
Can decals project onto skinned characters?
They can, but they’ll slide as the mesh deforms because the projector doesn’t follow the skin. Use rendering layers to exclude characters and use a texture or mask on the character instead.
How many decals can I have?
Hundreds on desktop with instancing. Cost depends mostly on screen coverage, so many small decals are cheaper than a few huge ones.
Are Decal Projectors the only option?
No. For static, hand-placed details on flat surfaces, a simple quad with a transparent material can be cheaper, but it won’t wrap around uneven geometry the way a projector does.
Reader questions
Asked by readers of this article and answered by AI. Behavior can differ between Unity versions, so test in yours.



Leave a Reply