
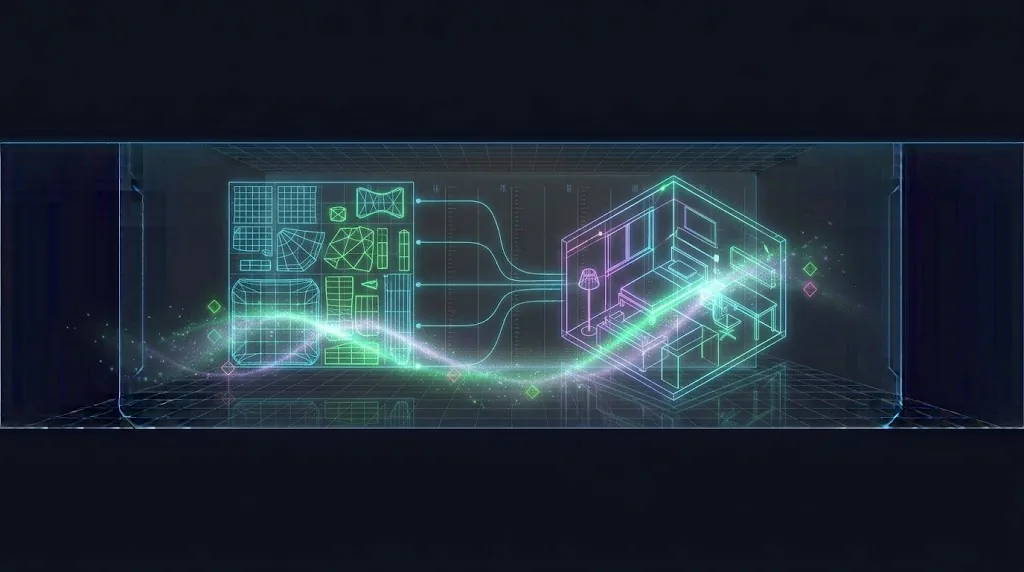
You mark your Blender level geometry as static, bake the lighting, and get black blotches, light leaking through corners, and a warning that the object has overlapping UVs. Baked lighting needs a second, special UV map that your texturing UVs usually can’t double as. This guide explains Blender UVs for Unity lightmaps: why the overlapping UVs warning appears, when Unity’s Generate Lightmap UVs is enough, how to unwrap a proper lightmap channel by hand in Blender, and how to choose margins so bakes stay clean.
Why Lightmaps Need Their Own UVs
A lightmap is a texture that stores baked light for every surface of an object. To store it, every face needs its own unique spot in UV space. Two faces can’t share pixels, because they receive different light.
Texturing UVs break that rule all the time, on purpose:
- Mirrored or stacked islands. Both sides of a symmetrical crate share the same texture area to save space.
- Tiling UVs that go outside 0 to 1 so a brick texture repeats across a wall.
- Trim sheets and palettes, where dozens of faces sit on top of each other on the same strip.
All perfectly good for textures, and all wrong for lightmaps. If Unity uses those UVs for baking, the light from one face lands on another. That’s what the overlapping UVs warning is about, and it’s why you see light patches in shadowed areas or dark blotches in bright ones.
Lightmap UVs also need gaps between islands. Lightmaps are low resolution, and the bake spreads (dilates) colour a few texels past each island edge to hide seams. Islands packed too tightly bleed light into each other.
UV0, UV1 and the “UV2” Naming Mess
Unity meshes have several UV channels. In code they are numbered from zero: mesh.uv is channel 0, mesh.uv2 is channel 1, and so on. Unity’s documentation and the import setting often call the lightmap channel “UV2” because of that property name. They all mean the second UV map.
- UV0 (first map): textures.
- UV1 (second map): baked lightmaps. If a mesh has no second map, Unity falls back to the first one, which is how texture UVs end up in the bake.
In Blender, look at Object Data Properties > UV Maps. The FBX exporter writes the maps in list order, so the first map in that list becomes UV0 and the second becomes UV1. The names don’t matter to Unity, only the order. Naming them UVMap and Lightmap keeps things obvious for you.
Option 1: Unity’s Generate Lightmap UVs
For a lot of simple geometry, let Unity do it:
- Select the model in the Project window and open the Model tab.
- Tick Generate Lightmap UVs.
- Expand Lightmap UVs settings if you need to tweak it, then click Apply.
The settings:
- Hard Angle: edges sharper than this become seams. The default works for most hard-surface models.
- Angle Error and Area Error: how much the unwrap may distort angles and areas. Lower is more accurate but makes more islands.
- Margin Method: Manual uses the Pack Margin value. Calculate works out a safe margin from the Min Lightmap Resolution and Min Object Scale you give it, which is the better choice when you know your lighting settings.
- Pack Margin: the gap between islands when using Manual.
Generate Lightmap UVs replaces any second UV map the model already has. If you unwrap UV1 by hand in Blender, leave this option off.
It works well for walls, floors, crates and modular pieces. It struggles with organic shapes, very long thin objects and dense meshes, where it makes lots of tiny islands that waste lightmap space and create seams. That’s when you unwrap in Blender.
If you import many level pieces into one folder, an AssetPostprocessor can switch the option on for you. Put it in an Editor folder:
using UnityEditor;

public class LightmapUVPostprocessor : AssetPostprocessor
{
    const string Folder = "Assets/Art/Environment/";

    void OnPreprocessModel()
    {
        if (!assetPath.StartsWith(Folder)) return;

        var importer = (ModelImporter)assetImporter;
        importer.generateSecondaryUV = true;
        importer.secondaryUVPackMargin = 8f;
    }
}
This runs on every import of files in that folder, so it overrides the checkbox if you change it by hand. Keep hand-unwrapped models in a different folder.
Option 2: A Lightmap UV Map in Blender
Unwrapping your own lightmap UVs gives you fewer seams, better use of space, and seams placed where they’re hidden. The steps:
- Select the object and go to Object Data Properties > UV Maps.
- Click + to add a second map. Rename it
Lightmap. - Click the Lightmap map to highlight it. Unwrapping writes into the highlighted map. Forgetting this step overwrites your texture UVs, the most common mistake here.
- Leave the camera icon (active render) on the first map so materials keep using the texture UVs.
- Enter Edit Mode, select all, and unwrap.
Three ways to unwrap, from fastest to best:
- UV > Lightmap Pack. Every face gets its own island. Fast and never overlaps, but makes many seams. Fine for boxy objects. Set a Margin in the operator panel.
- UV > Smart UV Project. Groups faces by angle. Fewer seams. Set Island Margin above zero.
- Mark Seams then UV > Unwrap, followed by UV > Pack Islands with a Margin. Most work, best result. Hide seams in corners and on edges that face away from the light.
Whatever you use, check in the UV Editor that no islands overlap and everything stays inside the 0 to 1 square. Scale islands by their real size: don’t enlarge a small part to make it look nicer, or it will get more lightmap texels than its neighbours.
For a batch of objects, this script adds a Lightmap map (if missing) and runs Lightmap Pack on each selected mesh separately:
import bpy

selected = [o for o in bpy.context.selected_objects if o.type == 'MESH']

for obj in selected:
    uvs = obj.data.uv_layers
    if len(uvs) == 0:
        print(f"{obj.name}: no texture UVs yet, skipping")
        continue

    lightmap = uvs.get("Lightmap") or uvs.new(name="Lightmap")
    uvs.active = lightmap  # unwrap into this map, not the texture map

    bpy.ops.object.select_all(action='DESELECT')
    obj.select_set(True)
    bpy.context.view_layer.objects.active = obj

    bpy.ops.object.mode_set(mode='EDIT')
    bpy.ops.mesh.select_all(action='SELECT')
    bpy.ops.uv.lightmap_pack(PREF_CONTEXT='ALL_FACES', PREF_MARGIN_DIV=0.3)
    bpy.ops.object.mode_set(mode='OBJECT')

for obj in selected:
    obj.select_set(True)
It skips meshes with no UV map at all, because a new map would become UV0 and Unity would treat it as the texture map. Run it from the Scripting workspace in Object Mode.
Apply scale before unwrapping (Object > Apply > Scale). Unity sizes each object’s lightmap area from its world-space surface area, so an object exported at the wrong scale gets the wrong share of lightmap. If your models come in at 100x or 0.01x, fix that first with our Blender scale guide. The rest of the export settings are in the FBX export settings hub.
💻 Waiting forever on light bakes?
Lightmap baking is one of the heaviest jobs in Unity, and Cycles bakes in Blender aren’t light either. A GPU that the Progressive GPU lightmapper can use turns long waits into minutes. We picked budget laptops that can bake without melting.
Margins, Texel Density and Padding
The margin you need depends on how many lightmap texels the object ends up with. Unity needs a few texels of empty space between islands, and that is measured in lightmap texels, not UV units.
Work it out like this:
- Check Lightmap Resolution in the Lighting window (texels per unit). Say it’s 20.
- A 3 m wide wall gets roughly 3 x 20 = 60 texels across.
- For a 2 to 3 texel gap, the margin must be about 3 / 60 = 0.05 of UV space.
Small objects need bigger margins as a fraction of UV space. A 0.5 m crate at the same resolution only gets 10 texels across, so even a large margin barely helps. It’s better to bump its Scale In Lightmap on the Mesh Renderer, or let it use Light Probes instead of lightmaps.
The Lighting window’s Lightmap Padding setting is the gap between whole objects in the lightmap atlas. It is separate from the gaps between islands inside one object, which come from your UVs.
Rules of thumb that keep bakes clean:
- Fewer, bigger islands beat many small ones.
- Keep island edges straight where possible. Straight edges pack tighter and waste fewer texels.
- Don’t light-bake tiny props at all. Set their Mesh Renderer’s Receive Global Illumination to Light Probes.
For the bigger picture on which objects should be baked, and the Lighting window settings, see our Unity 6 baked vs realtime lighting guide.
Checking the Result in Unity
Unity has built-in views for this. In the Scene view, open the draw mode dropdown (top left, usually “Shaded”):
- Baked Lightmap shows only the baked light, so leaks and blotches stand out.
- UV Charts shows how each object’s lightmap UVs are split.
- UV Overlap highlights texels where islands are too close or overlap. Anything flagged here needs a bigger margin or a fixed unwrap.
Select an object and look at the Mesh Renderer’s Lightmapping section. You can open the lightmap preview and see exactly where the object sits. For visible seams between islands, try ticking Stitch Seams there, which smooths lighting across UV seams on the same object when baking with the Progressive Lightmapper.
Troubleshooting
“This GameObject has overlapping UVs”
Unity is baking with UVs that overlap, usually because the model has no second UV map and fell back to texture UVs. Tick Generate Lightmap UVs on the model, or add a non-overlapping Lightmap UV map in Blender as the second map.
Hand-made lightmap UVs ignored or overwritten
Generate Lightmap UVs is ticked, which replaces your second map. Untick it. Also check the Lightmap map is second in Blender’s UV Maps list.
Textures look scrambled after adding lightmap UVs
You unwrapped into the texture map by mistake, or the new map ended up first. Undo, highlight the Lightmap map, and unwrap again.
Light leaking through corners and wall joins
Margins too small, or separate wall pieces that don’t overlap or seal. Increase the margin, raise the lightmap resolution for that object, and make sure walls meet with solid geometry rather than a hairline gap.
Black or very dark splotches
Often back faces visible to the lightmapper or flipped normals. Check the Face Orientation overlay in Blender, then use the Baked Lightmap draw mode to find the culprits.
Small props look wrong after baking
They have too few texels to store meaningful light. Switch them to Light Probes for Receive Global Illumination and place a Light Probe Group around them.
FAQ
Do I need lightmap UVs if I only use realtime lighting?
No. Lightmap UVs only matter for baked lightmaps. Fully realtime scenes and objects lit by Light Probes ignore them.
Can the lightmap UVs overlap my texture UVs?
They live in separate maps, so they never interfere. Only islands within the lightmap map must not overlap each other.
Is Unity’s Generate Lightmap UVs good enough?
For most hard-surface and modular level pieces, yes. Unwrap by hand for organic shapes, hero pieces and anything with obvious seams.
Which Blender unwrap is best for lightmaps?
Seams plus Unwrap and Pack Islands gives the best results. Smart UV Project is a decent middle ground and Lightmap Pack is the fastest.
Does Unity’s “UV2” mean the third UV map?
No. It’s the second map (channel 1). The name comes from the mesh.uv2 property.
Reader questions
Asked by readers of this article and answered by AI. Behavior can differ between Unity versions, so test in yours.


Leave a Reply