
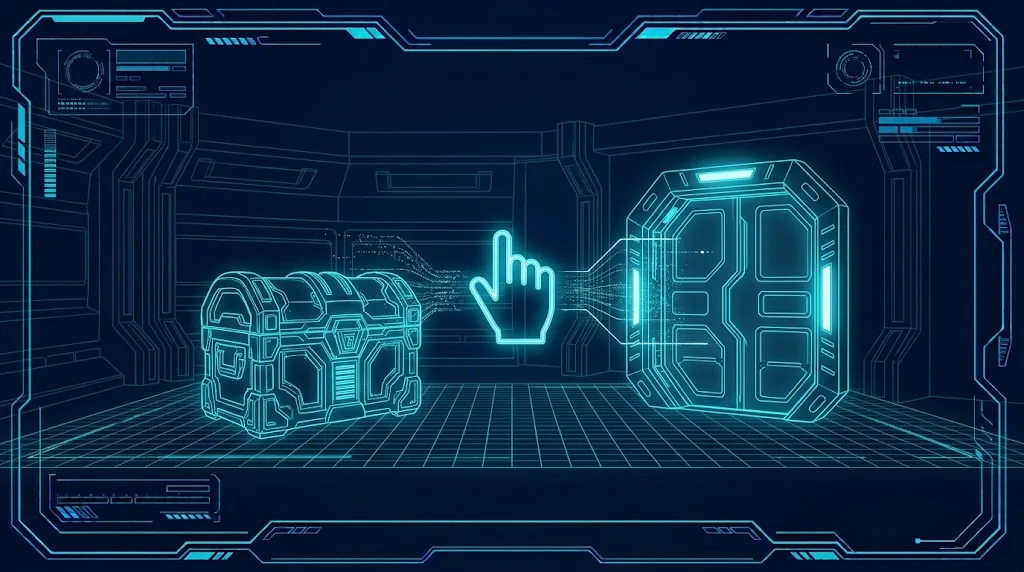
Doors, chests, levers, NPCs and item pickups all share one idea: walk up, see a prompt, press a button. If you code each one separately you end up with a player script full of if (hit.tag == "Door") checks. This guide builds a reusable Unity interaction system with an IInteractable interface, raycast detection for first person and trigger detection for third person and top down, plus a “Press E to interact” prompt that updates itself.
The Idea: One Interface, Many Objects
The player shouldn’t know what a door is. It should only know “there’s something in front of me that can be interacted with, and it’s called Open Door”. Each object decides what interacting means for itself.
In C#, the tool for that is an interface. Any MonoBehaviour can implement it, and the player finds it with GetComponent or TryGetComponent just like a normal component. If you want a refresher on interfaces versus events, the events and delegates guide has the background.
The IInteractable Interface
public interface IInteractable
{
    string Prompt { get; }                 // "Open Door", "Talk to Mira"
    bool CanInteract(GameObject interactor);
    void Interact(GameObject interactor);
}
Three members are enough for most games:
- Prompt is the text shown in the UI. It can change, for example “Open” vs “Close”.
- CanInteract lets an object refuse, such as a locked door without a key. The interactor is passed in so the object can check the player’s inventory.
- Interact does the work.
Detection With a Raycast (First Person)
In first person, the player interacts with whatever they’re looking at. Cast a short ray from the camera every frame:
using UnityEngine;
using UnityEngine.InputSystem;

public class Interactor : MonoBehaviour
{
    [SerializeField] Camera cam;
    [SerializeField] float range = 2.5f;
    [SerializeField] LayerMask mask = ~0;
    [SerializeField] InputActionReference interactAction;
    [SerializeField] InteractPrompt prompt;

    IInteractable current;

    void OnEnable()  => interactAction.action.Enable();
    void OnDisable() => interactAction.action.Disable();

    void Update()
    {
        current = FindTarget();
        prompt.Show(current != null && current.CanInteract(gameObject) ? current.Prompt : null);

        if (current != null && interactAction.action.WasPressedThisFrame() && current.CanInteract(gameObject))
            current.Interact(gameObject);
    }

    IInteractable FindTarget()
    {
        Ray ray = new Ray(cam.transform.position, cam.transform.forward);
        if (Physics.Raycast(ray, out RaycastHit hit, range, mask, QueryTriggerInteraction.Collide))
        {
            if (hit.collider.TryGetComponent(out IInteractable i)) return i;
            return hit.collider.GetComponentInParent<IInteractable>();
        }
        return null;
    }
}
Points to note:
TryGetComponentandGetComponentInParentboth work with interfaces. The parent lookup lets you put the script on a door’s root while the collider sits on a child mesh.QueryTriggerInteraction.Collidelets you use trigger colliders as interaction zones that don’t block movement.- Use a layer mask that skips the player’s own collider. The raycast tutorial explains masks and debugging rays.
Detection With a Trigger (Third Person and Top Down)
When the camera isn’t the player’s eyes, “what you’re looking at” doesn’t work. Instead, track interactables inside a trigger around the player and pick the closest one:
using System.Collections.Generic;
using UnityEngine;

public class ProximityInteractor : MonoBehaviour
{
    readonly List<IInteractable> nearby = new();
    readonly Dictionary<IInteractable, Transform> positions = new();

    void OnTriggerEnter(Collider other)
    {
        var i = other.GetComponentInParent<IInteractable>();
        if (i != null && !nearby.Contains(i)) { nearby.Add(i); positions[i] = other.transform; }
    }

    void OnTriggerExit(Collider other)
    {
        var i = other.GetComponentInParent<IInteractable>();
        if (i != null) { nearby.Remove(i); positions.Remove(i); }
    }

    public IInteractable Closest()
    {
        IInteractable best = null;
        float bestDist = float.MaxValue;
        for (int n = nearby.Count - 1; n >= 0; n--)
        {
            var i = nearby[n];
            if (i is Object o && o == null) { nearby.RemoveAt(n); continue; } // destroyed
            float d = (positions[i].position - transform.position).sqrMagnitude;
            if (d < bestDist) { bestDist = d; best = i; }
        }
        return best;
    }
}
Put a sphere collider marked Is Trigger on a child of the player, with this script. For triggers to fire, one of the two objects needs a Rigidbody (a CharacterController also counts). Then in your interactor, replace FindTarget() with proximity.Closest(). You can also prefer objects in front of the player by weighting the distance with a dot product against transform.forward.
The destroyed check matters. If a pickup is destroyed while inside the trigger, OnTriggerExit never fires, and you’d keep a dead reference. The cast to Object uses Unity’s null check, which catches destroyed objects.
The “Press E” Prompt UI
using TMPro;
using UnityEngine;

public class InteractPrompt : MonoBehaviour
{
    [SerializeField] GameObject root;
    [SerializeField] TMP_Text label;
    [SerializeField] string keyText = "E";

    string shown;

    public void Show(string prompt)
    {
        if (prompt == shown) return;     // avoid rebuilding text every frame
        shown = prompt;
        root.SetActive(prompt != null);
        if (prompt != null) label.text = $"[{keyText}] {prompt}";
    }
}
Only updating when the prompt changes avoids rebuilding TextMeshPro geometry (and allocating strings) every frame. The TextMeshPro guide covers sprite assets if you want an actual key icon instead of “[E]”.
To show the correct key for keyboard or gamepad, read the binding with interactAction.action.GetBindingDisplayString(). It returns text like “E” or the gamepad button name, and it respects player rebinds.
Example Interactables
A chest that opens once:
using UnityEngine;

public class Chest : MonoBehaviour, IInteractable
{
    [SerializeField] Animator animator;
    bool opened;

    public string Prompt => "Open Chest";
    public bool CanInteract(GameObject who) => !opened;

    public void Interact(GameObject who)
    {
        opened = true;
        animator.SetTrigger("Open");
    }
}
A lever that fires a UnityEvent, so designers can hook up anything in the Inspector:
using UnityEngine;
using UnityEngine.Events;

public class Lever : MonoBehaviour, IInteractable
{
    [SerializeField] UnityEvent onPulled;
    bool on;

    public string Prompt => on ? "Push Lever" : "Pull Lever";
    public bool CanInteract(GameObject who) => true;

    public void Interact(GameObject who)
    {
        on = !on;
        onPulled.Invoke();
    }
}
For NPCs, Interact would start a conversation, which fits neatly with the dialogue system tutorial.
Hold to Interact and Highlights
Hold to interact. In the Input Actions asset, add a Hold interaction to the Interact binding with a duration, then use performed instead of the press. Or keep a timer in your script while the button is held and fill a radial image for feedback.
Highlights. Add an optional second interface, for example IHighlightable with SetHighlighted(bool). When the target changes, turn the old one off and the new one on. Swapping to an emissive material or enabling an outline renderer both work.
Blocking during menus. Disable the interactor while the game is paused or dialogue is open, so the same button doesn’t both close a dialogue box and reopen it.
💻 A laptop that keeps up
First person scenes with lots of props get heavy fast. If your editor stutters, check our guide to budget laptops that handle Unity well.
Troubleshooting
Raycast never finds the object
Check the layer mask includes the object’s layer, the range is long enough, and the collider is on the object or a child. Draw the ray with Debug.DrawRay to see where it goes.
The ray hits the player’s own collider
Put the player on a Player layer and exclude it from the mask, or start the ray slightly in front of the camera.
OnTriggerEnter not firing for the proximity trigger
One of the objects needs a Rigidbody or a CharacterController, and Is Trigger must be ticked. The OnTriggerEnter guide lists every cause.
MissingReferenceException after picking something up
The interactable was destroyed while still in your list. Use the Unity null check shown above to drop destroyed entries.
Pressing E interacts twice
You’re checking input in two scripts, or using a held check instead of WasPressedThisFrame.
FAQ
Can GetComponent find an interface?
Yes. GetComponent, TryGetComponent and GetComponentInParent all accept interface types and return the first component that implements it.
Interface or base class?
An interface lets any component be interactable without forcing an inheritance chain. Use a base class only if all interactables share a lot of code.
Can interfaces be shown in the Inspector?
Not directly as serialized fields. Reference the component (MonoBehaviour) instead, or look it up at runtime as shown.
How do I show the gamepad button instead of E?
Use GetBindingDisplayString on the action. It returns the binding for the current control scheme and respects rebinding.
Raycast or trigger?
Raycast for first person, where aim matters. Trigger for third person and top down, where proximity matters.
Reader questions
Asked by readers of this article and answered by AI. Behavior can differ between Unity versions, so test in yours.


Leave a Reply