
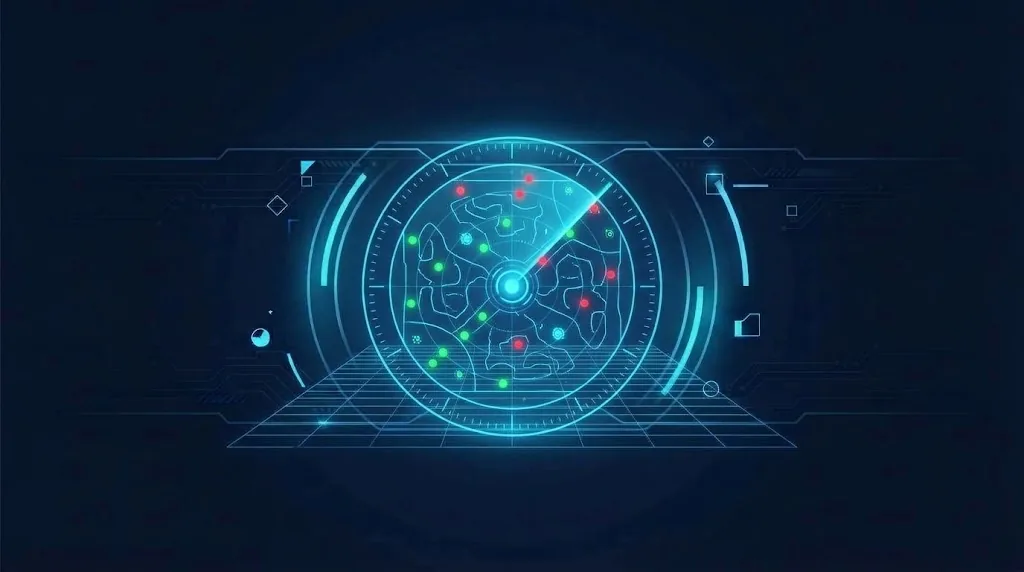
A minimap helps players find their way and see what’s around them, and Unity makes a basic one surprisingly easy. This guide builds a Unity minimap with a Render Texture: a top-down camera that follows the player, a round or square minimap in the UI, simple icons for the player and enemies using layers, north-up vs rotating maps, and a cheaper icon-only alternative for mobile.
How a Render Texture Minimap Works
A second camera looks straight down at the level and renders into a texture instead of the screen. A UI element shows that texture in the corner. Icons are objects on a special layer that only the minimap camera sees, so the main view never shows them.
It’s three pieces: a Render Texture asset, a camera, and a RawImage in the UI.
Create the Render Texture
- In the Project window, right-click and choose Create > Rendering > Render Texture. Name it
MinimapRT. - Set the Size to 256 x 256 or 512 x 512. The minimap is small on screen, so bigger textures waste memory and fill rate.
- Leave Anti-aliasing at None or 2 samples.
- Set Depth Stencil Format to a depth format (the default is fine) so 3D geometry sorts correctly.
The Minimap Camera
- Create a new Camera called MinimapCamera. Remove its Audio Listener; you only want one in the scene.
- Rotate it to X = 90 so it looks straight down.
- Set Projection to Orthographic. Size controls how much area is shown: a size of 20 shows 40 units from top to bottom.
- Set Output > Output Texture to
MinimapRT. In URP, the camera’s Render Type stays Base. - Under Rendering, turn off Post Processing and set Anti-aliasing to none to save cost. Set Shadows off too.
- Set Environment > Background Type to Solid Color, with a dark colour for areas outside the level.
Then make it follow the player:
using UnityEngine;

public class MinimapFollow : MonoBehaviour
{
    [SerializeField] Transform target;
    [SerializeField] float height = 50f;
    [SerializeField] bool rotateWithTarget;

    void LateUpdate()
    {
        Vector3 p = target.position;
        transform.position = new Vector3(p.x, p.y + height, p.z);

        float yaw = rotateWithTarget ? target.eulerAngles.y : 0f;
        transform.rotation = Quaternion.Euler(90f, yaw, 0f);
    }
}
Using LateUpdate means the camera moves after the player, so the map doesn’t lag a frame behind. The height just needs to be above the tallest object, since an orthographic camera’s view size doesn’t change with distance. If the player is a Rigidbody with interpolation, LateUpdate also picks up the smoothed position.
Showing It in the UI
- In your Canvas, create UI > Raw Image. Set its Texture to
MinimapRT. Anchor it to a corner and size it to 200 x 200 or similar. - For a round minimap, put the Raw Image inside a parent Image with a circle sprite and add a Mask component to the parent. Untick Show Mask Graphic if you don’t want the circle drawn. Add a ring sprite on top as a border.
- For a square minimap, just add a border Image over it.
Anchor it properly so it stays in the corner on all screen sizes. The Canvas Scaler guide explains anchors and scaling for different resolutions.
Icons With a Minimap Layer
Seeing tiny 3D models from above isn’t very readable. Icons are much clearer:
- Create a layer called Minimap in Tags and Layers.
- On the player, add a child Quad (or a SpriteRenderer) lying flat, rotated X = 90, a little above the player’s head. Give it a bright arrow or dot texture with an Unlit material. Set its layer to Minimap.
- Do the same for enemies (red dots), pickups and objectives.
- On the Main Camera, remove Minimap from the Culling Mask, so the icons never appear in the game view.
- On the MinimapCamera, include Minimap in the Culling Mask. You can also exclude layers like small props, particles or the ceiling so the map is cleaner.
Scale icons up, since they need to be visible from a camera showing 40 units. A 3 to 4 unit wide icon is typical. Turn off Cast Shadows on icon renderers and remove their colliders. Layers and culling masks are covered in the layers guide.
For indoor levels with ceilings, either exclude the roof’s layer from the minimap camera or lower the camera below roof height and use the near clip plane.
North-Up or Rotating
- North-up (map fixed, player arrow rotates): easier to learn the layout. The player’s arrow icon rotates with the player automatically because it’s a child.
- Rotating (player always points up, map turns): easier to navigate in the moment. Set
rotateWithTargetto true. For third-person games, rotate with the camera’s yaw instead of the character’s, so “up” on the map matches “forward” on screen.
With a rotating map, a compass “N” marker around the edge helps. Rotate it in the UI by the negative of the camera’s yaw.
Performance and a Cheaper Version
A second camera renders the scene a second time, which costs CPU (culling and draw calls) and GPU. To keep it cheap:
- Use a small Render Texture.
- Strip the minimap camera’s culling mask down to ground, walls and icons.
- Turn off shadows, post-processing and anti-aliasing on it.
- Render it less often. Disable the camera and call
minimapCamera.Render()from a script a few times per second. In URP, the recommended way in Unity 6 isRenderPipeline.SubmitRenderRequest, but simply togglingenabledon alternate frames also works.
For mobile or very simple games, skip the camera entirely. Draw a static map image of the level (take one screenshot from the minimap camera and save it as a texture), then move UI icons over it based on world positions. Converting a world position to map position is just a scale and offset: mapPos = (worldPos.xz - levelMin) / levelSize * mapRectSize. That costs almost nothing. The draw calls guide explains why extra cameras get expensive.
🔧 Ready-made minimap systems
If you need fog of war, markers and a full map screen, a minimap asset can save a week. Browse our recommended Asset Store tools.
Troubleshooting
Minimap is black
The camera’s Output Texture isn’t set, the camera is disabled, or it’s below the floor. Check its position and that the culling mask includes the ground.
The main game view disappeared
You set the Output Texture on the Main Camera by mistake, or the minimap camera has higher priority with no output texture. Only the minimap camera should output to the texture.
Icons appear in the main view
Remove the Minimap layer from the Main Camera’s Culling Mask.
“There are 2 audio listeners in the scene”
Remove the Audio Listener from the minimap camera.
Minimap is blurry
The Render Texture is smaller than the on-screen image. Match its size to the RawImage size, or reduce the RawImage size.
FAQ
Orthographic or perspective for the minimap?
Orthographic. It shows a true top-down view with no distortion, and the zoom is just the Size value.
How do I zoom the minimap?
Change the camera’s orthographicSize, for example with the mouse wheel or when entering a building.
Can I show enemies only when spotted?
Enable each enemy’s icon only when it’s detected, and disable it again after a timeout.
Does this work in 2D?
Yes. Point an orthographic camera at the 2D scene with no rotation, zoomed out, rendering into a texture.
How do I click the minimap to set a waypoint?
Convert the click to a position inside the RawImage rect, then use the minimap camera’s ViewportPointToRay to find the world point.
Reader questions
Asked by readers of this article and answered by AI. Behavior can differ between Unity versions, so test in yours.
Leave a Reply