

A good third-person camera is hard to write by hand. It has to orbit smoothly, follow without lag, stay out of walls and blend into an aiming view. Cinemachine handles all of that, but Cinemachine 3 (the version for Unity 6) renamed nearly everything, so most tutorials online no longer match what you see. This guide builds two third-person cameras in Cinemachine 3 from scratch: an orbiting free-look camera and an over-the-shoulder camera with an aim mode. It also covers camera-relative player movement, collisions, upgrading from Cinemachine 2, and fixes for the common problems.
What’s Different in Cinemachine 3
Cinemachine 3 keeps the same idea: you don’t move the real camera. You place lightweight Cinemachine Cameras in the scene, each describing a shot, and a Cinemachine Brain on your Main Camera copies whichever one is live, blending smoothly between them. What changed are the names:
CinemachineVirtualCameraand the old FreeLook are replaced by a single CinemachineCamera component.- The Body and Aim sections are now Position Control and Rotation Control, and each behaviour is a separate component (Orbital Follow, Third Person Follow, Rotation Composer and so on).
- Follow and Look At became the Tracking Target, with an optional separate Look At target.
- Player input goes through a Cinemachine Input Axis Controller component that works with the Input System.
- The scripting namespace is now
Unity.Cinemachineinstead ofCinemachine.
If a tutorial mentions “Transposer”, “Composer” in an Aim dropdown, or using Cinemachine;, it was written for version 2.
Step 1: Install Cinemachine
- Open Window > Package Manager, choose Unity Registry, search for Cinemachine and install it. Unity 6 installs a 3.x version.
- Make sure the Input System package is installed too; the input examples below rely on it. See our Input System beginner’s guide if you haven’t used it before.
You’ll also need a player to follow. A capsule with a CharacterController is enough for testing. Add an empty child object named CameraTarget at roughly head or shoulder height. Following this child instead of the player’s pivot (which is usually at the feet) makes framing much easier.
Option A: An Orbiting FreeLook Camera
This is the classic action-adventure camera: the mouse or right stick orbits the camera around the character, who stays centred on screen.
- Choose GameObject > Cinemachine > FreeLook Camera. If your Main Camera doesn’t have a Cinemachine Brain yet, Unity adds one.
- Select the new camera and drag
CameraTargetinto its Tracking Target field. - Press Play and move the mouse. The camera already orbits.
That one menu item creates a CinemachineCamera with three components already set up. Here’s what each one does and which settings to change:
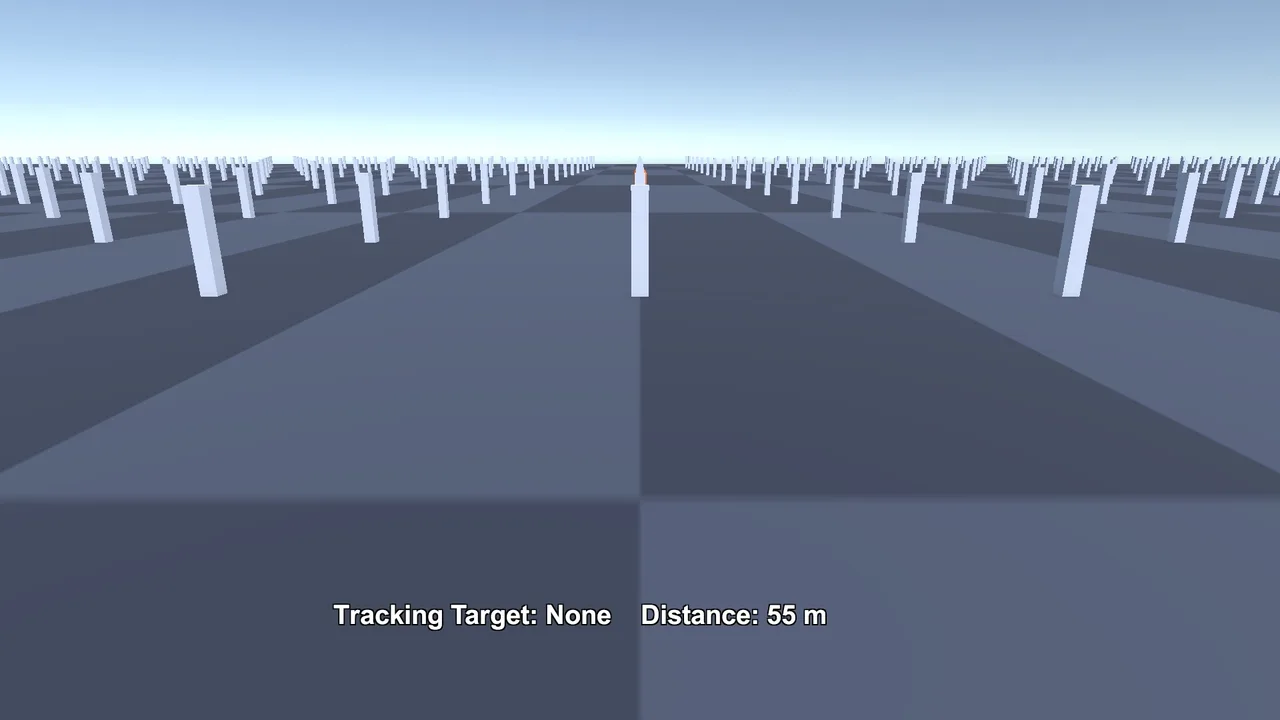
Cinemachine Orbital Follow (position)
Keeps the camera on a shell around the target. Orbit Style is either Sphere, a simple fixed Radius, or Three Ring, where you set a Top, Center and Bottom orbit, each with its own height and radius. Three Ring lets the camera come in close when looking up from below and pull back when looking down, which feels more natural. The Horizontal Axis, Vertical Axis and Radial Axis define the range of each input, and Recentering Target controls what the camera swings back behind when the player stops moving the stick. Recentering behind the character is ideal for gamepad play.
Binding Mode: should the camera swing behind the player?
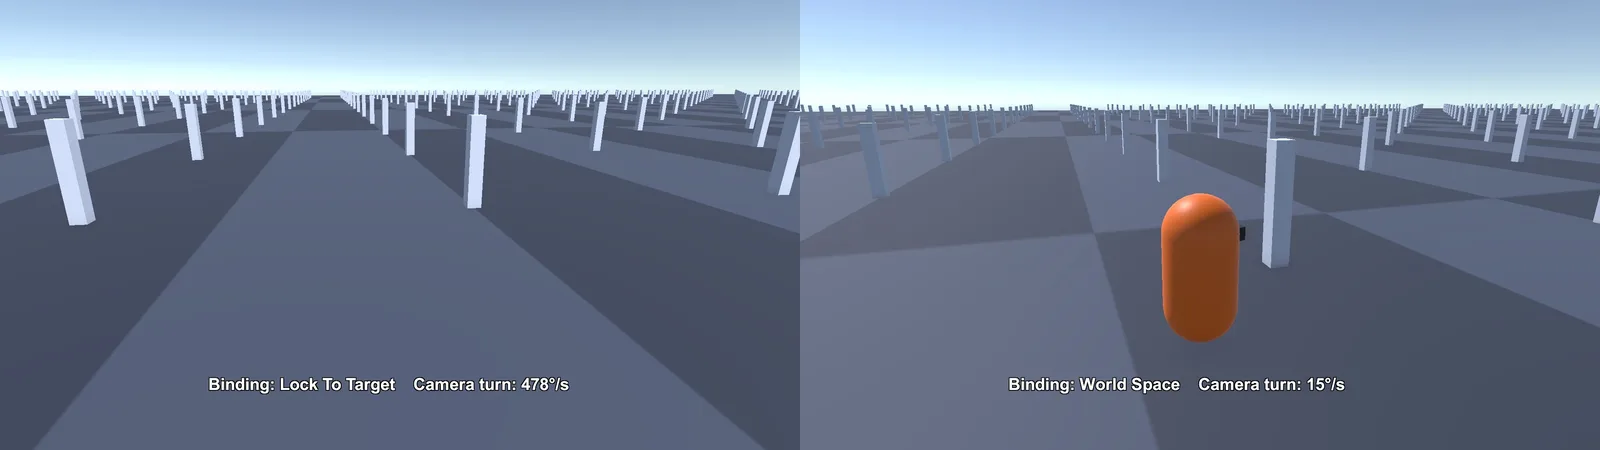
Orbital Follow has a Binding Mode that decides which space the orbit lives in, and it changes the feel more than any other setting:
- World Space: the orbit ignores which way the character faces, so turning the character does not drag the camera around. This is what you want for a mouse-driven adventure camera.
- Lock To Target With World Up: the orbit follows the character’s yaw but ignores tilt and roll, so the camera swings round behind the player when they turn. Good for vehicles and for games with no camera input at all.
- Lazy Follow: the camera moves as little as possible to keep its distance and height, which gives a loose, cinematic chase feel.
If the camera spins wildly when the player turns, you are probably on a Lock To Target mode while also orbiting with the mouse. Switch back to World Space and use recentering instead.
Recentering is set per axis. Tick it on the Horizontal Axis, then set Wait (seconds without input before it starts) and Time (how long the swing takes). Around 1 second of Wait and 0.5 to 1 second of Time feels natural on a gamepad. Mouse players usually want it off.
The Radial Axis is a multiplier on the orbit size, so it doubles as a zoom. Give it a Range such as 0.5 to 1.5, then in the Input Axis Controller assign it an action bound to <Mouse>/scroll/y with a small negative Gain. Scroll values per notch are large on some platforms, so start small and tune by feel.
Cinemachine Rotation Composer (rotation)
Keeps the target framed. Target Offset shifts the aim point, for example up a little so the character sits lower in the frame. Damping adds a slight lag so the camera doesn’t feel bolted on. Set damping to 0 if the character appears to shake; see jitter below.
Cinemachine Input Axis Controller (input)
Connects input to the orbit axes. Expand each axis to see its Input Action and Gain. Gain is your sensitivity; a negative gain inverts the axis, which is how you add an “invert Y” option. You can assign your own Input Action (for example the Look action from your player’s action map) so that camera and gameplay input share one setup, and tick Suppress Input While Blending to stop the player fighting a camera transition.
Three other settings on this component cause most “the camera feels wrong” reports. Cancel Delta Time should be ticked on axes driven by mouse delta, because mouse movement already depends on frame time; leave it off for the right stick, which is a rate. Accel Time and Decel Time ramp the input up and down: set both to 0 for a mouse, and keep a small value (around 0.1) for a stick so it doesn’t feel twitchy. Ignore Time Scale keeps input working when Time.timeScale is 0, which you want for a photo mode but not for a pause menu.
Stop the camera going through walls
An orbit camera will happily clip into walls. Select the camera and choose Add Extension > Cinemachine Deoccluder at the bottom of the CinemachineCamera inspector. It moves the camera forward whenever geometry blocks the view of the target. Set its Collide Against layers to your level geometry only, and add your player’s tag to Ignore Tag so the character itself isn’t treated as an obstacle.
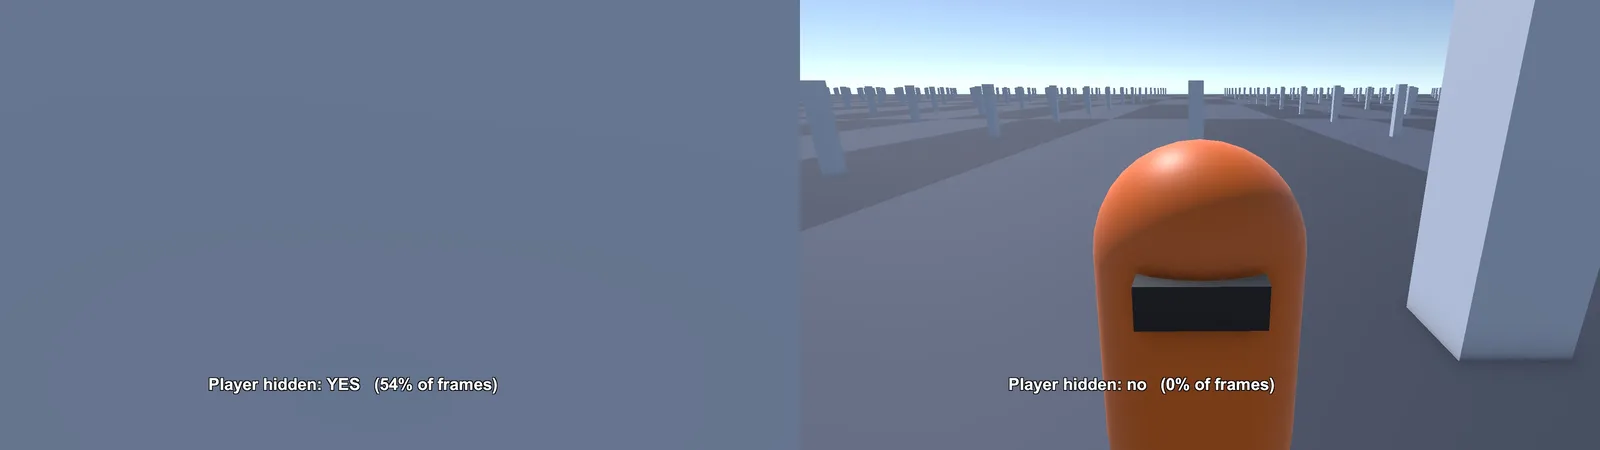
Option B: An Over-the-Shoulder Camera
Shooters and many modern action games use a camera that sits behind one shoulder and turns with the character. In Cinemachine 3 that’s the Third Person Follow position control.
- Choose GameObject > Cinemachine > Cinemachine Camera and set
CameraTargetas its Tracking Target. - In the inspector, set Position Control to Third Person Follow and leave Rotation Control empty.
- Adjust the Cinemachine Third Person Follow component that appears.
The key settings are Shoulder Offset (how far to the side and up the pivot sits), Vertical Arm Length, Camera Side (0 for the left shoulder, 1 for the right, in between for anywhere in between) and Camera Distance. It has built-in collision, so you don’t need the Deoccluder: set Camera Collision Filter to your level layers, fill in Ignore Tag, and tune Camera Radius and the Damping Into Collision / Damping From Collision values.
The important difference from the FreeLook camera: Third Person Follow stays parallel to the target’s rotation. It doesn’t read input itself. To look around, you rotate the target. This script turns the CameraTarget with mouse or stick input, rotating the player body with the yaw and clamping the pitch:
using UnityEngine;
using UnityEngine.InputSystem;

public class ShoulderLook : MonoBehaviour
{
    [SerializeField] Transform cameraTarget;   // child of the player
    [SerializeField] InputActionReference look;
    [SerializeField] float sensitivity = 0.15f;
    [SerializeField] float minPitch = -40f, maxPitch = 70f;

    float pitch;

    void OnEnable()
    {
        look.action.Enable();
        Cursor.lockState = CursorLockMode.Locked;
    }

    void LateUpdate()
    {
        Vector2 delta = look.action.ReadValue<Vector2>() * sensitivity;

        // Yaw turns the whole character
        transform.Rotate(0f, delta.x, 0f);

        // Pitch only tilts the camera target
        pitch = Mathf.Clamp(pitch - delta.y, minPitch, maxPitch);
        cameraTarget.localRotation = Quaternion.Euler(pitch, 0f, 0f);
    }
}
Put it on the player and assign a Look action bound to <Mouse>/delta and <Gamepad>/rightStick. For a gamepad, multiply the stick value by Time.deltaTime and a higher sensitivity, since stick input is a rate rather than a per-frame delta.
Move the Player Relative to the Camera
With the FreeLook camera, pressing “forward” should move the character away from the camera, not along the world Z axis. Flatten the camera’s forward and right vectors onto the ground and build the move direction from them:
using UnityEngine;
using UnityEngine.InputSystem;

[RequireComponent(typeof(CharacterController))]
public class CameraRelativeMove : MonoBehaviour
{
    [SerializeField] InputActionReference move;
    [SerializeField] float speed = 5f;
    [SerializeField] float turnSpeed = 720f;

    CharacterController controller;
    Transform cam;

    void Awake()
    {
        controller = GetComponent<CharacterController>();
        cam = Camera.main.transform;
    }

    void OnEnable() => move.action.Enable();

    void Update()
    {
        Vector2 input = move.action.ReadValue<Vector2>();

        Vector3 forward = Vector3.ProjectOnPlane(cam.forward, Vector3.up).normalized;
        Vector3 right = Vector3.ProjectOnPlane(cam.right, Vector3.up).normalized;
        Vector3 dir = forward * input.y + right * input.x;

        if (dir.sqrMagnitude > 0.01f)
        {
            Quaternion look = Quaternion.LookRotation(dir);
            transform.rotation = Quaternion.RotateTowards(
                transform.rotation, look, turnSpeed * Time.deltaTime);
        }

        controller.SimpleMove(dir * speed);
    }
}
Read Camera.main, the real camera driven by the Brain, not the CinemachineCamera object. With the over-the-shoulder setup the character already faces the camera direction, so you can move with transform.forward and transform.right instead.
🎥 Want a head start on the rest of your controller?
Cinemachine is free, but a polished character controller, animation setup and inspector tooling take weeks to build yourself. We picked out the Asset Store tools that save indie developers the most time.
Add an Aim Camera and Blend to It
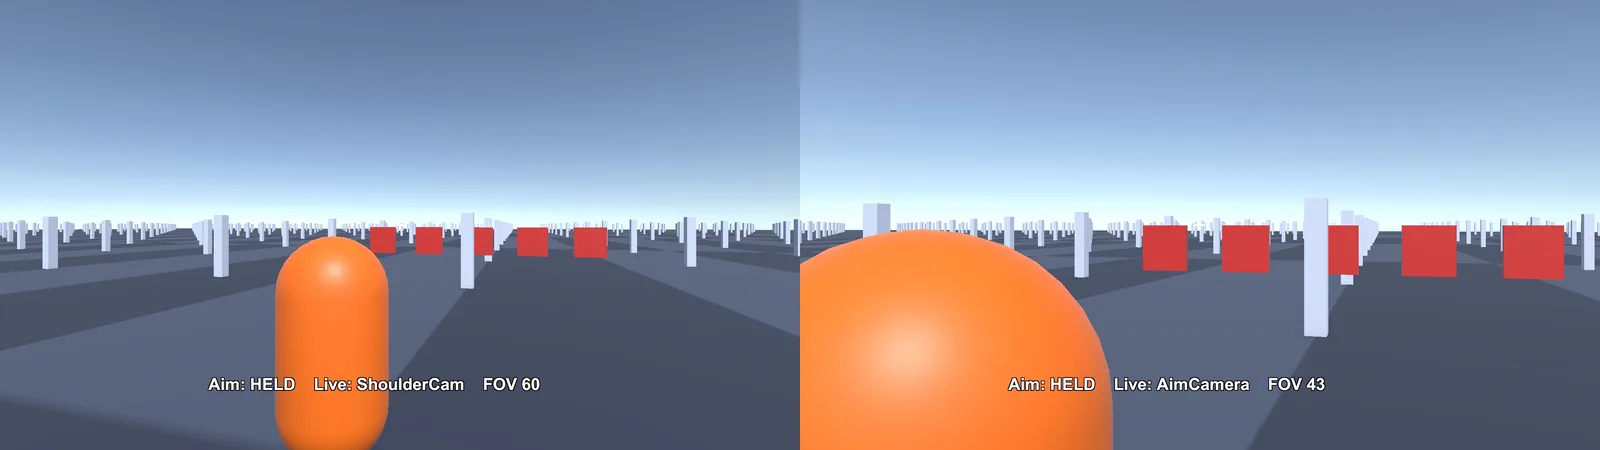
Holding the right mouse button to zoom over the shoulder is just a second camera. Cinemachine blends to whichever active camera has the highest priority.
- Duplicate your over-the-shoulder camera and name it
AimCamera. Give it a shorter Camera Distance, a tighter Shoulder Offset and a lower field of view in its Lens settings. - Give it a higher Priority than the normal camera, then disable its GameObject.
- Enable it while aiming:
using UnityEngine;
using UnityEngine.InputSystem;

public class AimToggle : MonoBehaviour
{
    [SerializeField] GameObject aimCamera;
    [SerializeField] InputActionReference aim;

    void OnEnable() => aim.action.Enable();

    void Update()
    {
        aimCamera.SetActive(aim.action.IsPressed());
    }
}
The Brain blends between the two cameras automatically. Set the blend style and time with Default Blend on the Main Camera’s Cinemachine Brain (an Ease In Out of about 0.25 seconds feels responsive), or add a Custom Blends asset to use different blends between specific cameras. The same technique handles cutscene cameras, lock-on cameras and death cameras.
The Priority checkbox catch
In Cinemachine 3 the Priority field has a checkbox next to it. Unticked, the inspector shows “(using default)” and the camera counts as priority 0, whatever number you typed. If your aim camera never wins, or the game never returns to your main camera, tick the checkbox on both.
Making shots land where the crosshair points
With the camera off to one side, a ray from the gun and a ray from the screen centre point at different things. Add Add Extension > Cinemachine Third Person Aim to the shoulder and aim cameras. It casts a ray along the camera’s forward axis and exposes the hit point as AimTarget. Set Aim Collision Filter to the layers you can shoot, put the player’s tag in Ignore Tag, and set Aim Distance to your weapon’s range. If you add handheld noise to the camera, Noise Cancellation keeps the aim point steady on screen (it only works when the noise component has a non-zero Pivot Offset).
using UnityEngine;
using Unity.Cinemachine;

public class FireAtCrosshair : MonoBehaviour
{
    [SerializeField] CinemachineThirdPersonAim aim;  // on the live camera
    [SerializeField] Transform muzzle;

    public Vector3 GetShotDirection()
    {
        // Aim from the muzzle toward whatever is under the screen centre
        return (aim.AimTarget - muzzle.position).normalized;
    }
}
Cinemachine also ships a 3D samples set (open the Package Manager, select Cinemachine, then the Samples tab) that includes a ThirdPersonWithAimMode scene. It is worth importing once just to compare its inspector values with yours. For shake on hits and explosions, see our Cinemachine Impulse screen shake guide.
Teleports, Respawns and Hard Cuts
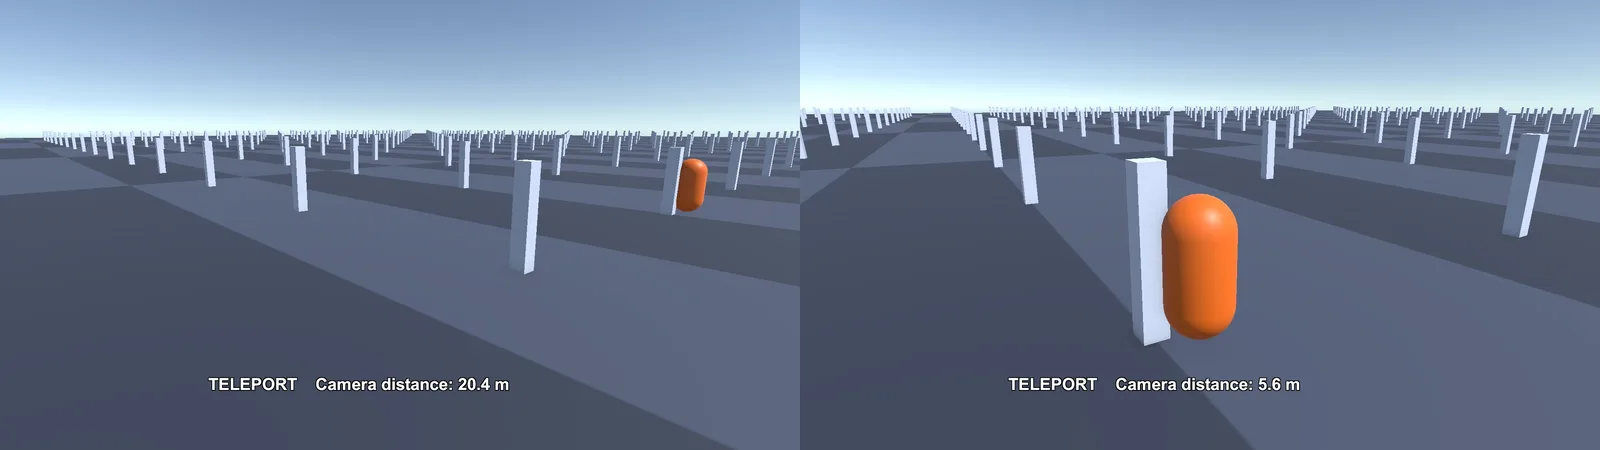
When the player respawns or walks through a portal, damping makes the camera fly across the level to catch up. Tell Cinemachine that the target jumped, and it moves the camera by the same amount instead of smoothing it:
using UnityEngine;
using Unity.Cinemachine;

public class Teleporter : MonoBehaviour
{
    [SerializeField] CharacterController player;
    [SerializeField] Transform cameraTarget;      // the camera's Tracking Target
    [SerializeField] CinemachineCamera cam;

    public void TeleportTo(Vector3 newPosition)
    {
        Vector3 delta = newPosition - player.transform.position;

        // An enabled CharacterController overwrites manual position changes
        player.enabled = false;
        player.transform.position = newPosition;
        player.enabled = true;

        cam.OnTargetObjectWarped(cameraTarget, delta);
    }
}
For a respawn where you also want the camera reset behind the player, call cam.CancelDamping() after moving the target, and the camera snaps to its ideal position instead of easing there. For a pre-placed shot, such as the first frame of a cutscene, use cam.ForceCameraPosition(position, rotation). If you switch between two cameras and want a cut rather than a blend, set the Brain’s Default Blend to Cut, or add an entry for that pair of cameras in a Custom Blends asset.
Upgrading from Cinemachine 2
If your project already uses Cinemachine 2 cameras, updating the package leaves them in place with obsolete components. Select an old virtual camera and use the upgrade button in its inspector. It opens the Cinemachine upgrader, which can convert the scene, prefabs and animation references to Cinemachine 3 components. Commit your project to version control first, since the conversion changes many files at once. In your scripts:
- Replace
using Cinemachine;withusing Unity.Cinemachine;. - Replace
CinemachineVirtualCameraandCinemachineFreeLookwithCinemachineCamera. - Replace
FollowandLookAtassignments with the camera’s tracking target settings. - Replace
GetCinemachineComponent<CinemachineTransposer>()-style lookups withGetComponentcalls for the new components, such asCinemachineOrbitalFollow.
Troubleshooting
error CS0246: The type or namespace name ‘Cinemachine’ could not be found
Your script still uses the Cinemachine 2 namespace. Change it to using Unity.Cinemachine; and rename the old component types as listed above. Our guide to Unity compiler errors explains CS0246 and its siblings in detail.
The camera doesn’t move at all
- The Main Camera has no Cinemachine Brain. Add one.
- The Tracking Target is empty.
- Another CinemachineCamera with a higher priority is live. The Brain’s inspector shows which camera is live while in Play mode.
- A script is setting the Main Camera’s transform directly. Remove it; the Brain owns that transform.
The FreeLook camera doesn’t respond to the mouse
Check that the Cinemachine Input Axis Controller is present and its axes have an Input Action with a non-zero Gain. In Edit > Project Settings > Player, Active Input Handling must include the Input System. If you assigned your own action, make sure the action map is enabled.
The character or camera jitters
Almost always a timing mismatch. A Rigidbody player moves in FixedUpdate while the camera updates every frame. Turn on Interpolate on the player’s Rigidbody and leave the Brain’s Update Method on Smart Update (or try Late Update). Also reduce Rotation Composer damping, and move a CharacterController only in Update.
The cursor leaves the game window
Set Cursor.lockState = CursorLockMode.Locked; when gameplay starts and unlock it for menus. In the Editor, click inside the Game view first; Escape releases the cursor.
The camera goes through walls
On the FreeLook camera, add the Cinemachine Deoccluder extension. On Third Person Follow, set Camera Collision Filter. In both cases the level geometry needs colliders on the included layers.
The camera doesn’t swing behind the player (or swings too much)
That comes from the Orbital Follow Binding Mode plus Horizontal Axis recentering. World Space never follows the character’s facing; Lock To Target With World Up always does. Pick one, then use recentering to bring the camera back behind the player after a pause in input.
Mouse look is too fast, too slow, or changes with frame rate
Tick Cancel Delta Time on mouse-driven axes and lower the Gain. If gamepad and mouse share one action, split them into separate actions so each can have its own Gain; a single value rarely suits both.
Still Broken? Check These
- Exactly one Cinemachine Brain, on the camera tagged MainCamera.
- The Priority checkbox is ticked on every camera you rely on, and the one you expect has the highest value among the active ones.
- The Tracking Target is the head-height child in the scene, not the feet pivot or a prefab asset from the Project window.
- Active Input Handling includes the Input System, and the action you assigned is enabled.
- Gain is non-zero, Cancel Delta Time is on for mouse axes, and each axis Range isn’t zero-width.
- Rigidbody players have Interpolate on; CharacterController players only move in Update.
- Collision layers on the Deoccluder or Third Person Follow include your walls, and the player’s tag is in Ignore Tag.
- In Play mode, the Brain’s inspector names the live camera and any blend in progress. Check it before changing anything else.
FAQ
Where is CinemachineFreeLook in Cinemachine 3?
It’s gone. GameObject > Cinemachine > FreeLook Camera now creates a CinemachineCamera with Orbital Follow, Rotation Composer and Input Axis Controller components that do the same job.
What namespace does Cinemachine 3 use?
Unity.Cinemachine. Replace using Cinemachine; in older scripts.
FreeLook or Third Person Follow?
Use a FreeLook (Orbital Follow) camera when the camera orbits freely around the character, as in adventure games. Use Third Person Follow for an over-the-shoulder view that turns with the character, as in shooters.
How do I invert the Y axis?
On the Cinemachine Input Axis Controller, give the vertical axis a negative Gain. For Third Person Follow, flip the sign in your own look script.
How do I switch between cameras?
Give each CinemachineCamera a priority and enable or disable them. The Brain blends to the highest-priority active camera using its Default Blend.
Does Cinemachine work in 2D?
Yes. Use a Cinemachine Camera with the Position Composer for 2D follow cameras, and the Cinemachine Confiner 2D extension to keep the camera inside level bounds.
How do I zoom the camera with the scroll wheel?
Give the Orbital Follow Radial Axis a range such as 0.5 to 1.5 and drive it from the Input Axis Controller with an action bound to the mouse scroll Y value and a small negative Gain.
Reader questions
Asked by readers of this article and answered by AI. Behavior can differ between Unity versions, so test in yours.

Leave a Reply